How to install Dark Mode Theme for Zendesk
- Custom Themes
- General
As you know, dark themes and modes on our gadgets are not only the biggest digital trend but are beneficial for your eyes. So we created Dark Mode Theme for Zendesk to reduce the harm of blue light on your night sleep.
Let’s cover how to install this plugin.
Dark Mode Installation
First, search for the Chrome web store in your browser. Then, enter Zendesk Dark Mode in the search bar.
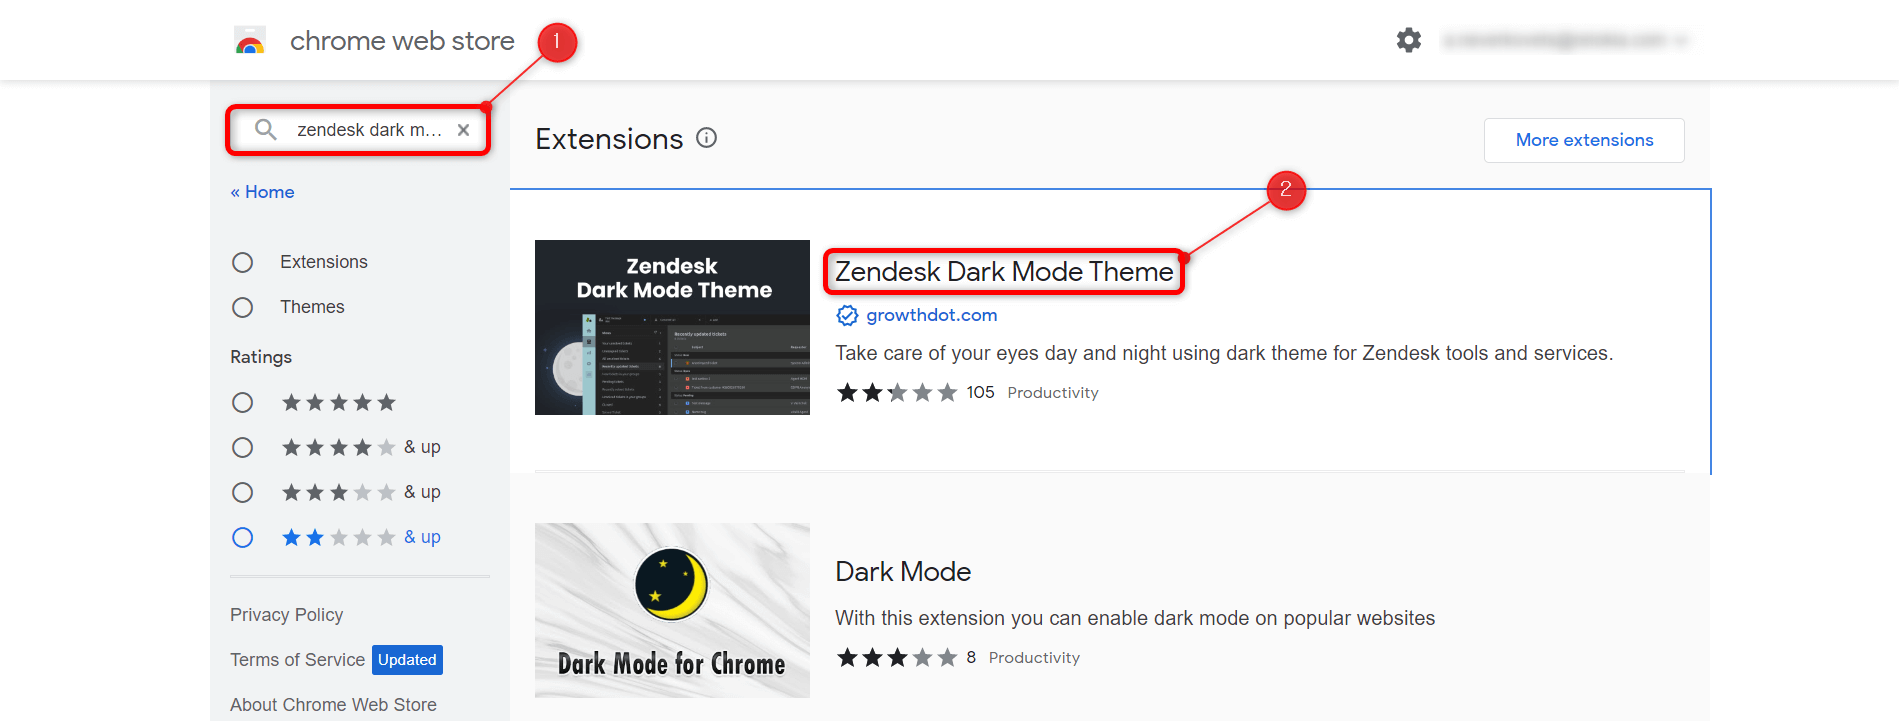
Select Zendesk Dark Theme offered by GrowthDot. After clicking Add to Chrome, you will see the pop-up at the top of a page.
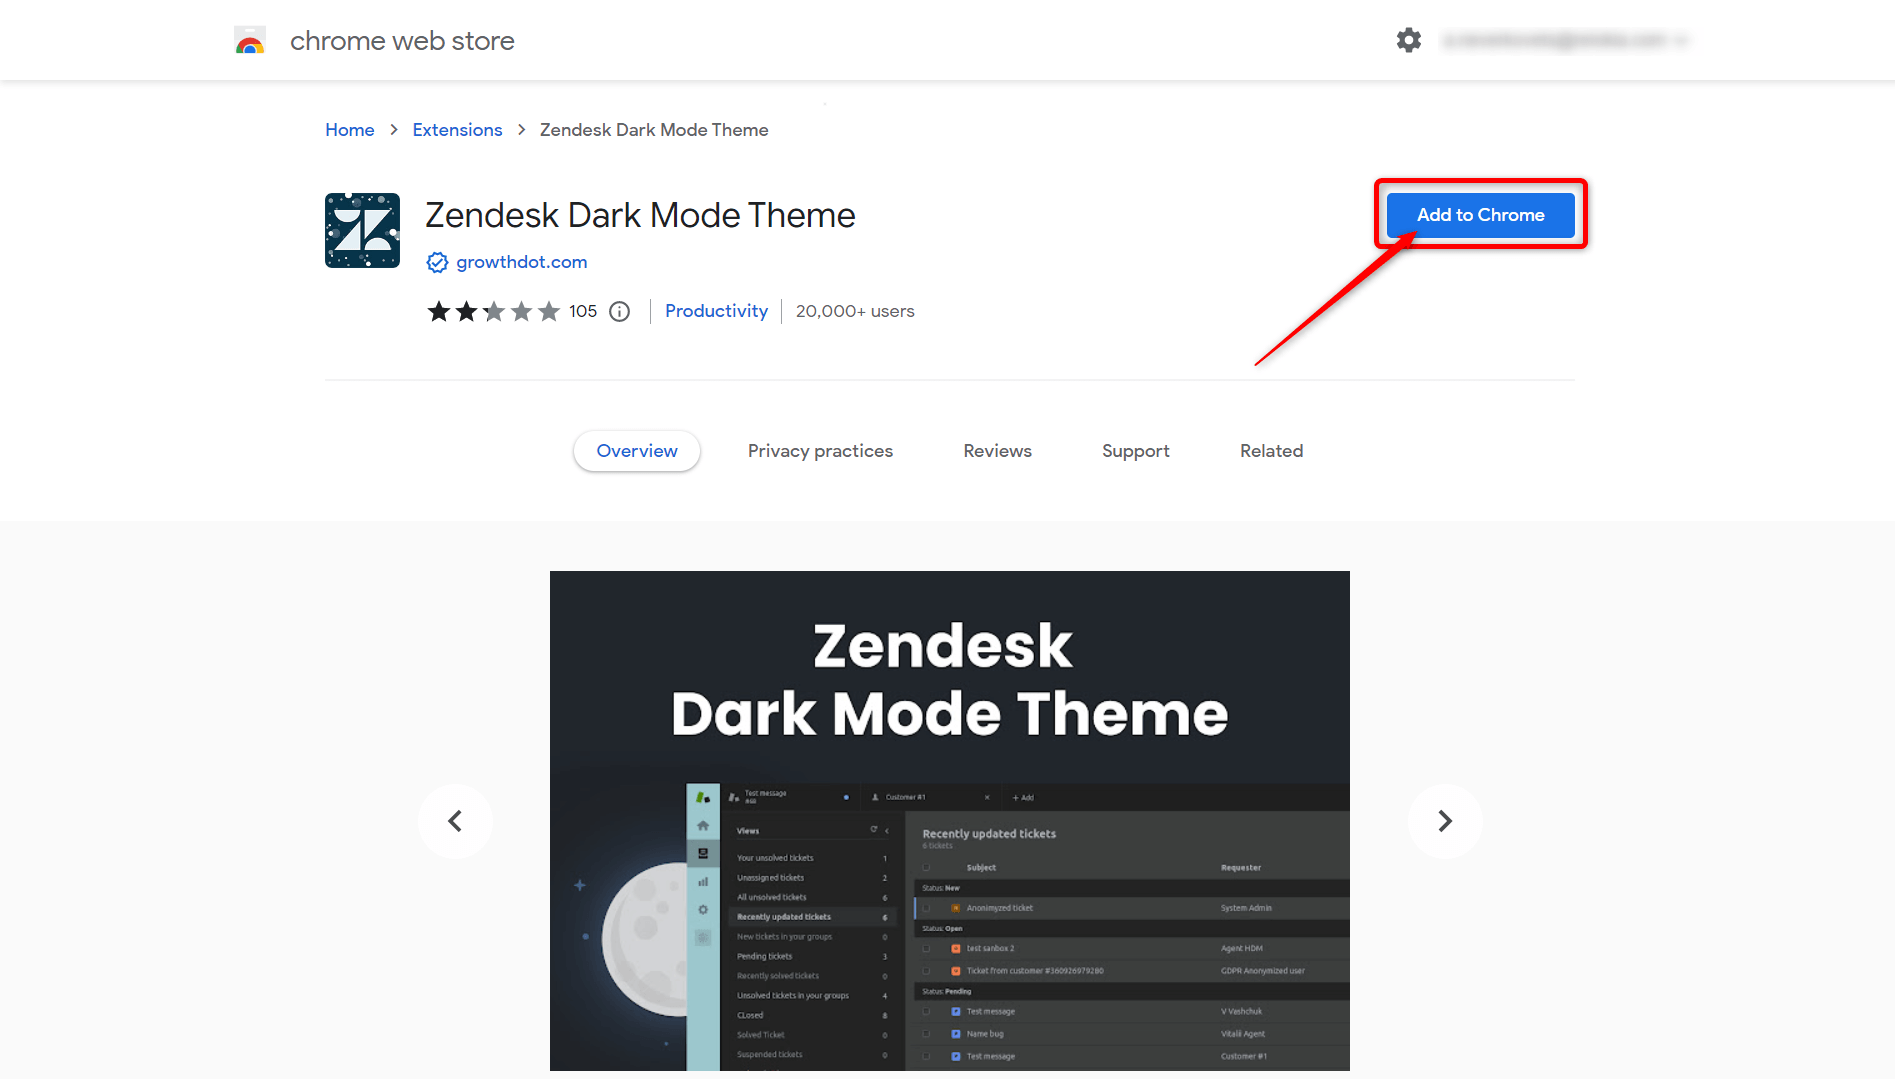
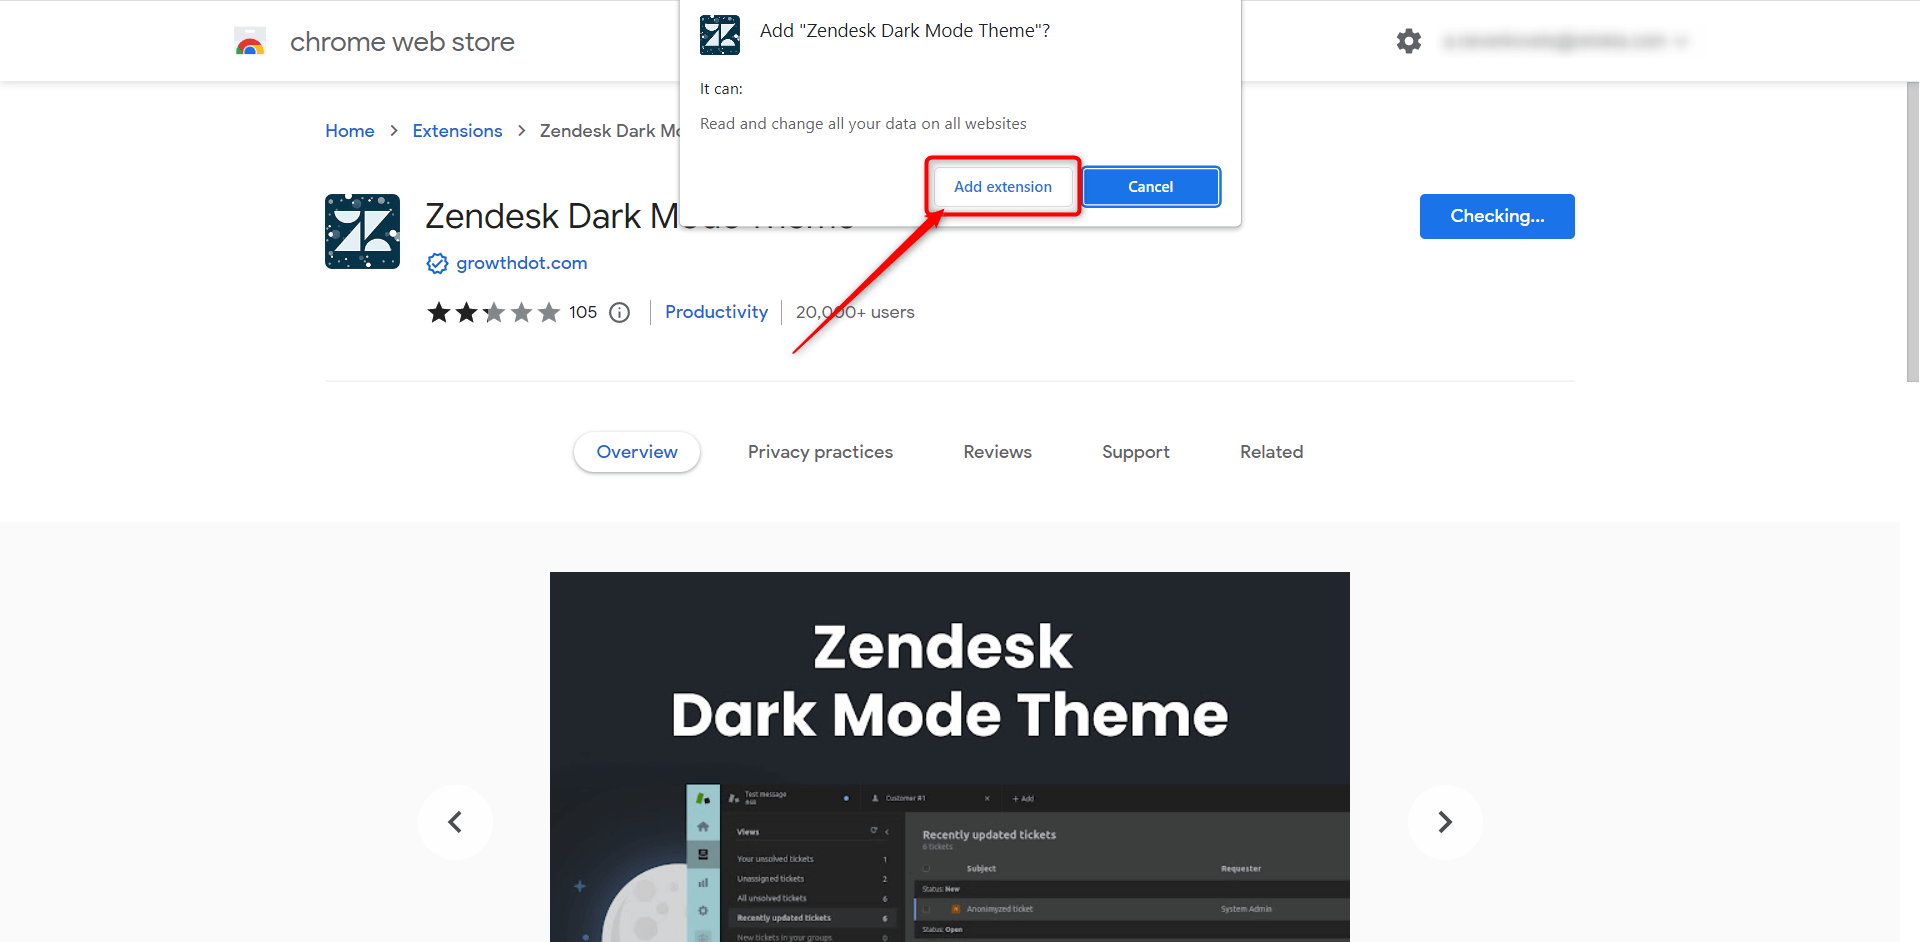
You should click on Add the Extension button.
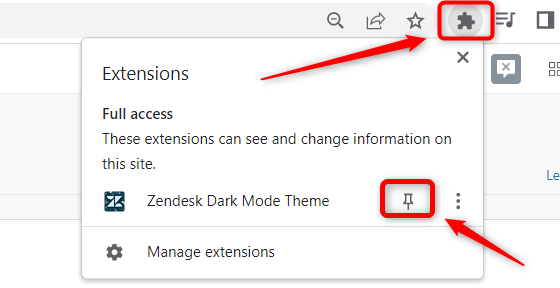
Next, pin the Dark Mode by clicking the Extension icon. The Dark theme icon will appear in the extension’s sidebar.
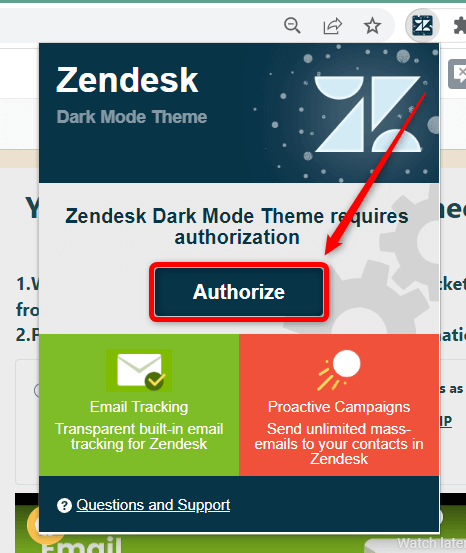
After these actions, you need to activate the plugin. So, click on the Dark Mode extension and the Authorize button.
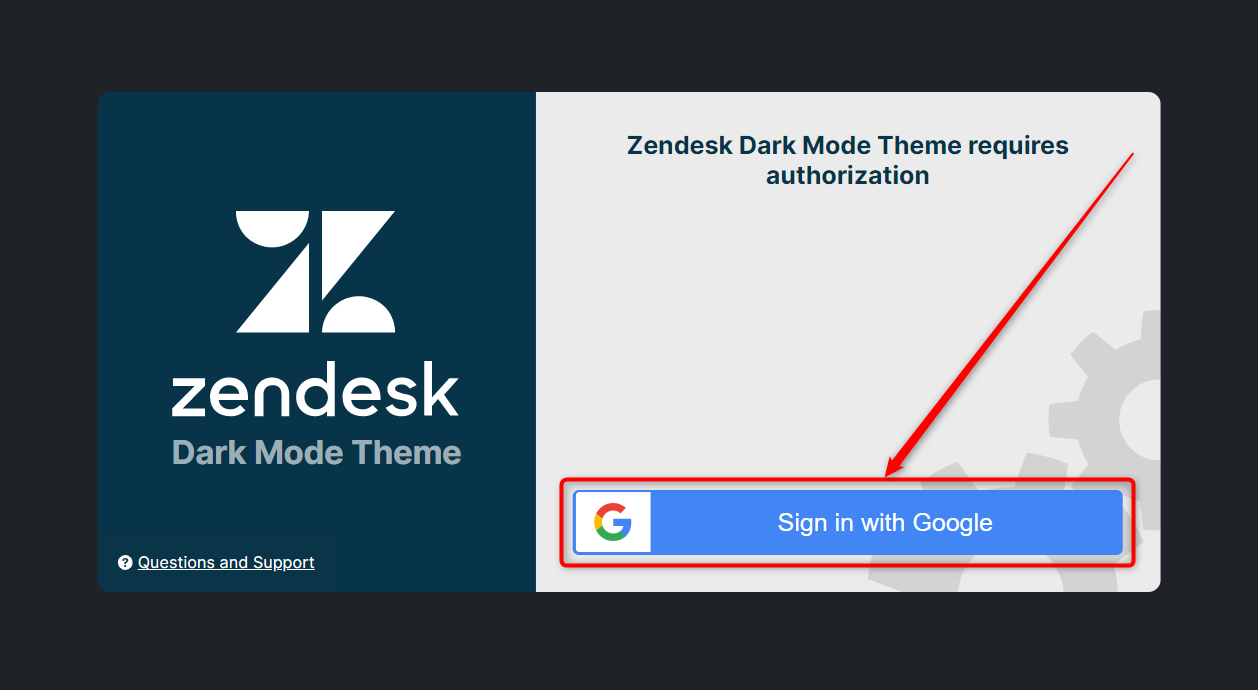
You will be taken to the Configuration tab. There is a Sign in with Google button, so click it and choose your Google account.
Congratulations, you’ve got a free trial. From now you have free 5-days you can spend on testing our Dark Mode.
How to purchase the Dark Mode extension
When you decide to purchase the Dark Mode, just click on the extension icon, choose Buy and follow the instructions described below.
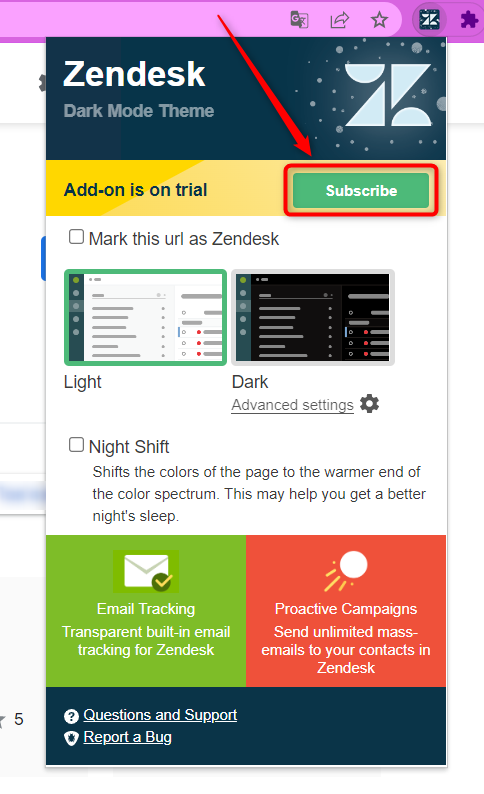
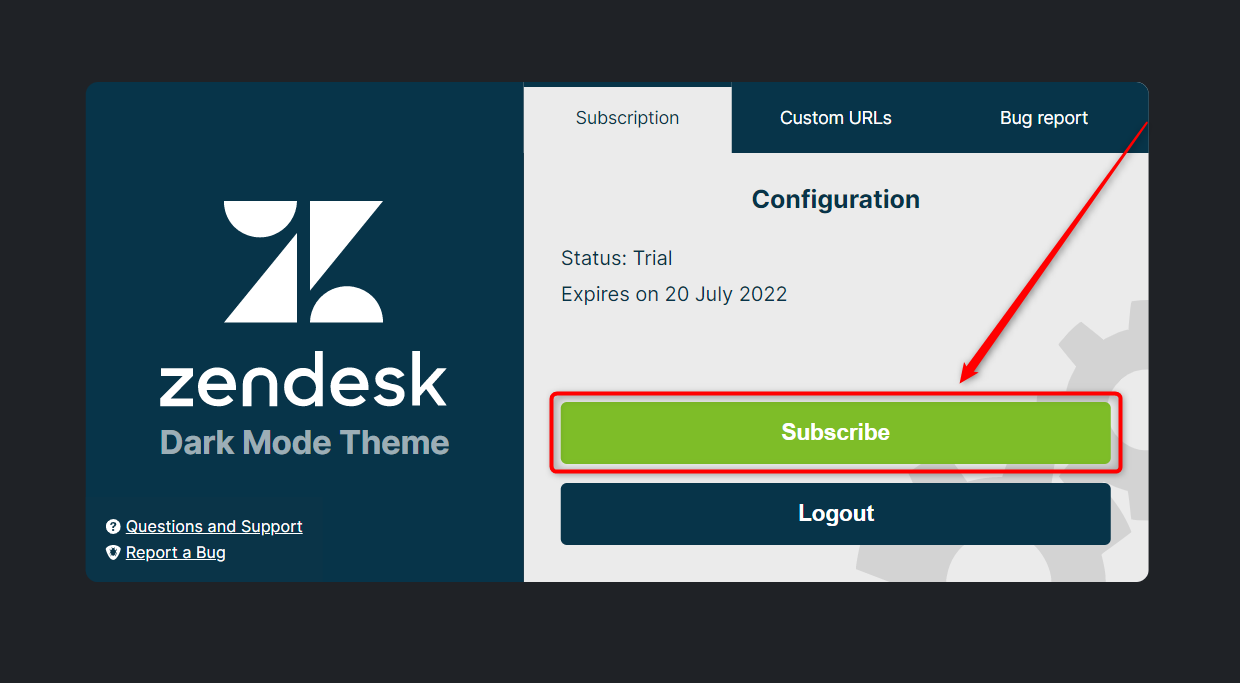
However, you might have been using this extension for a long time and want to make a subscription. Then, continue our configuration process and click Subscribe and follow the instructions that pop up on a screen.
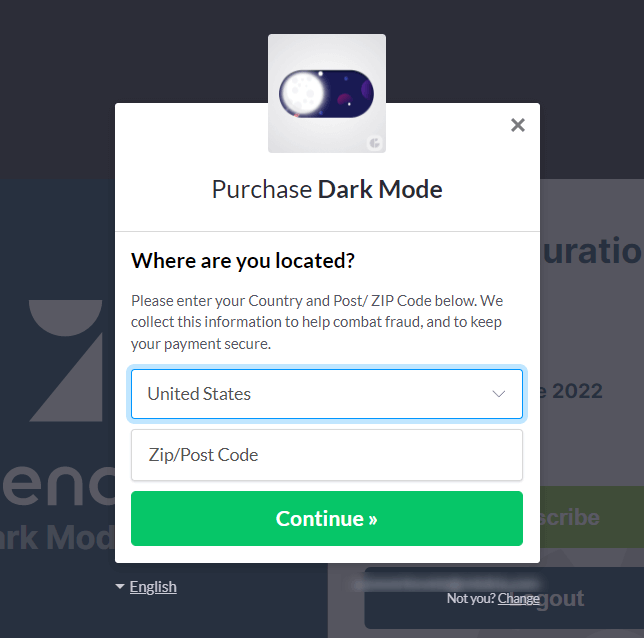
1. Choose a country and enter a postal code if you are from the United States.
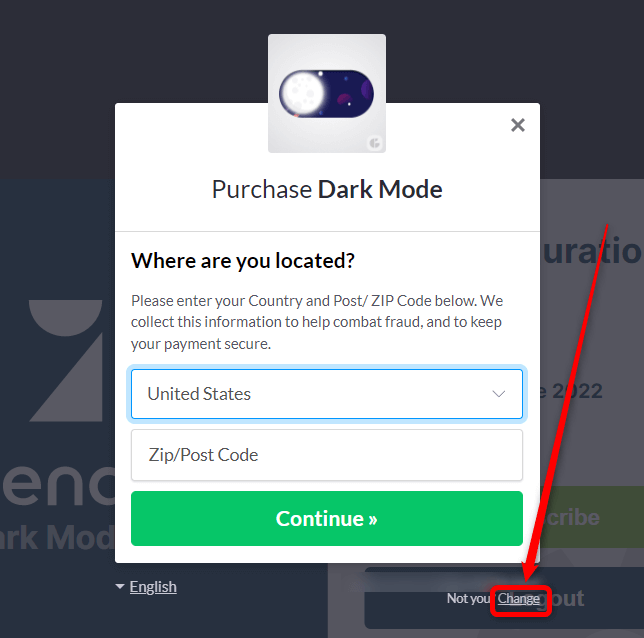
Pay attention. You can change the email address and put the checkmark to receive emails about our updates. For this, click on the highlighted word Change under the modal window.
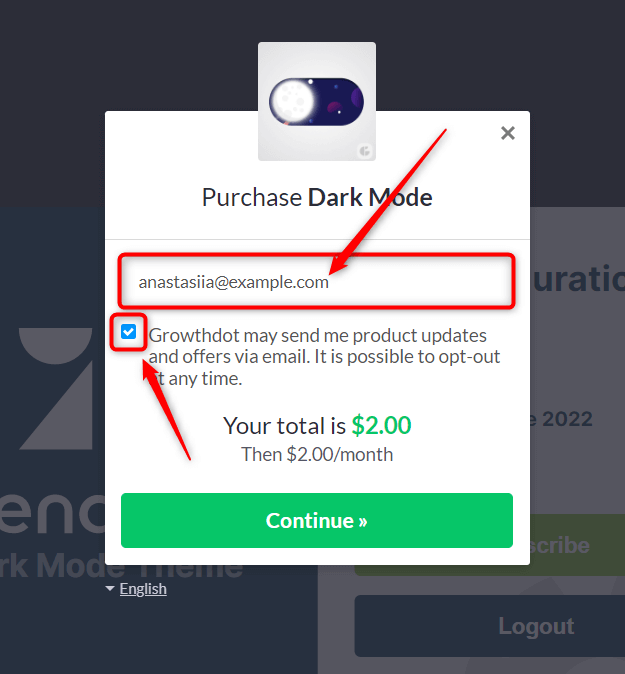
Next, enter a new email address if needed and mark the checkbox under it. After that, let’s continue the process.
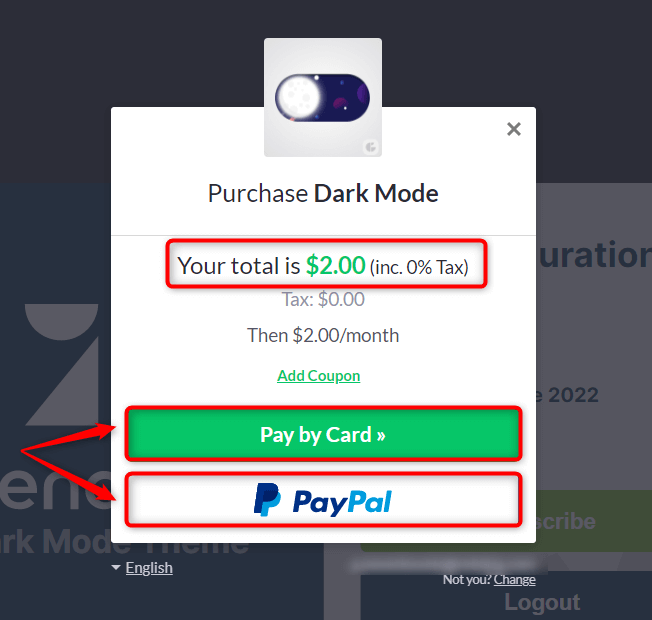
2. Then, you will be presented with a monthly price that includes your country's tax policy.
3. Select the payment method. It could either be paid by credit/debit card, or PayPal. Enter credentials if it’s needed and confirm the transaction.
The Dark Mode Settings
Now, we are going to activate the Dark theme for Zendesk.
Go to your Zendesk Instance, click the Dark mode icon and select the Dark button. Also, there’s a Night Shift with warm light for a better night’s sleep.
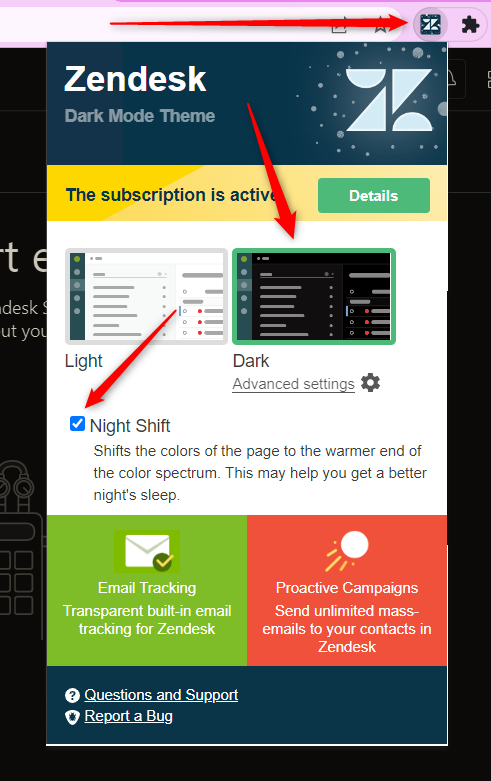
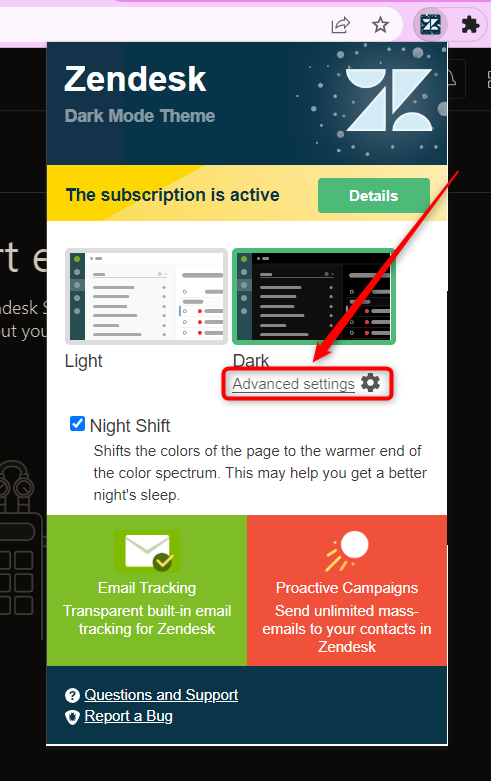
You can either use default or Advanced settings to customize the Dark Mode.
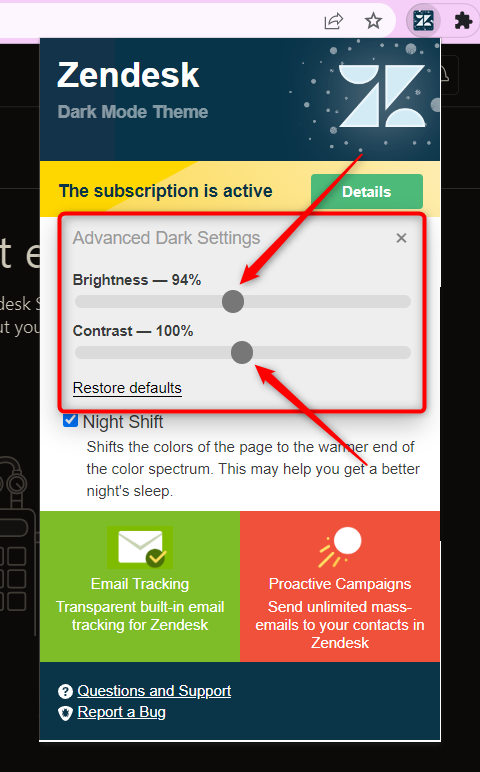
Brightness and Contrast sliders are available to control lightness. The former regulates light intensity, and the latter sets up the number of shades. So, all you need is to adjust them by scrolling a button to the left or right, reducing or increasing them.
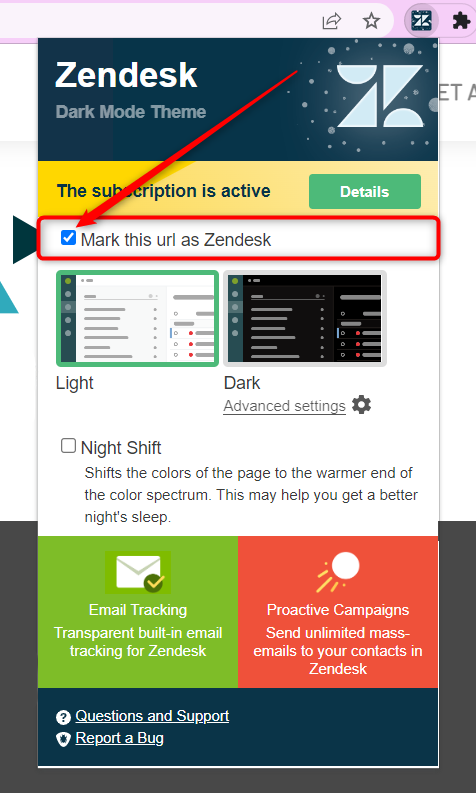
Enable Dark Mode for Custom URL
You can face a situation where the Dark Mode doesn’t work while using a platform, where you use a custom URL. Don’t worry, as the Dark Mode app provides a solution. First, open a page which locates by a custom URL. Second, click on the Dark Mode icon in the right corner of the browser’s window. Next, you will see a checkbox above the Light and Dark buttons. And finish the process by checking a box near Mark this URL as Zendesk phrase.
Finally, enjoy your Zendesk with Dark mode.
If you have any questions feel free to contact our support team.


