How to create a follow-up campaign in Proactive Campaigns
- Proactive Campaigns
Sometimes, you should remind your clients about yourself and send a follow-up campaign to reach out to those who didn't engage with your email. Proactive Campaigns is a great tool for pinging customers automatically in a few clicks. Let’s see how to arrange that process.
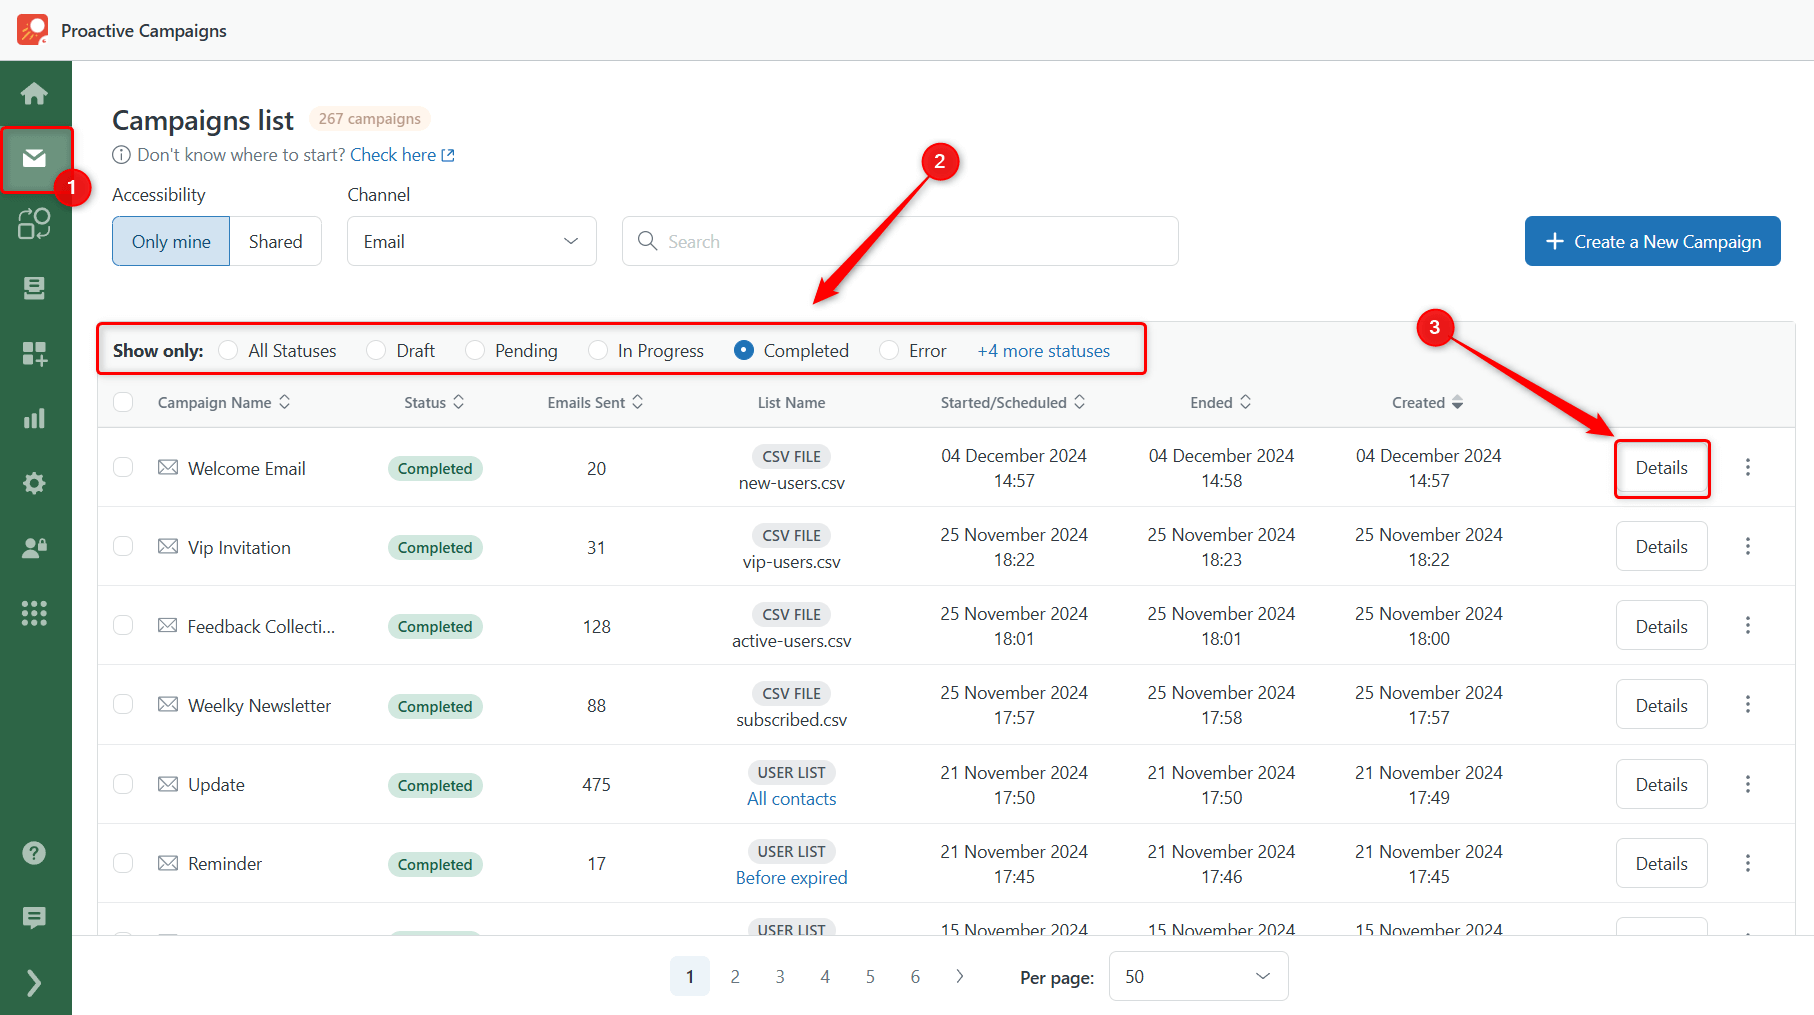
1. At first, Go to the Campaigns tab and filter to show only Completed campaigns. Then, choose the needed one and click on Details.
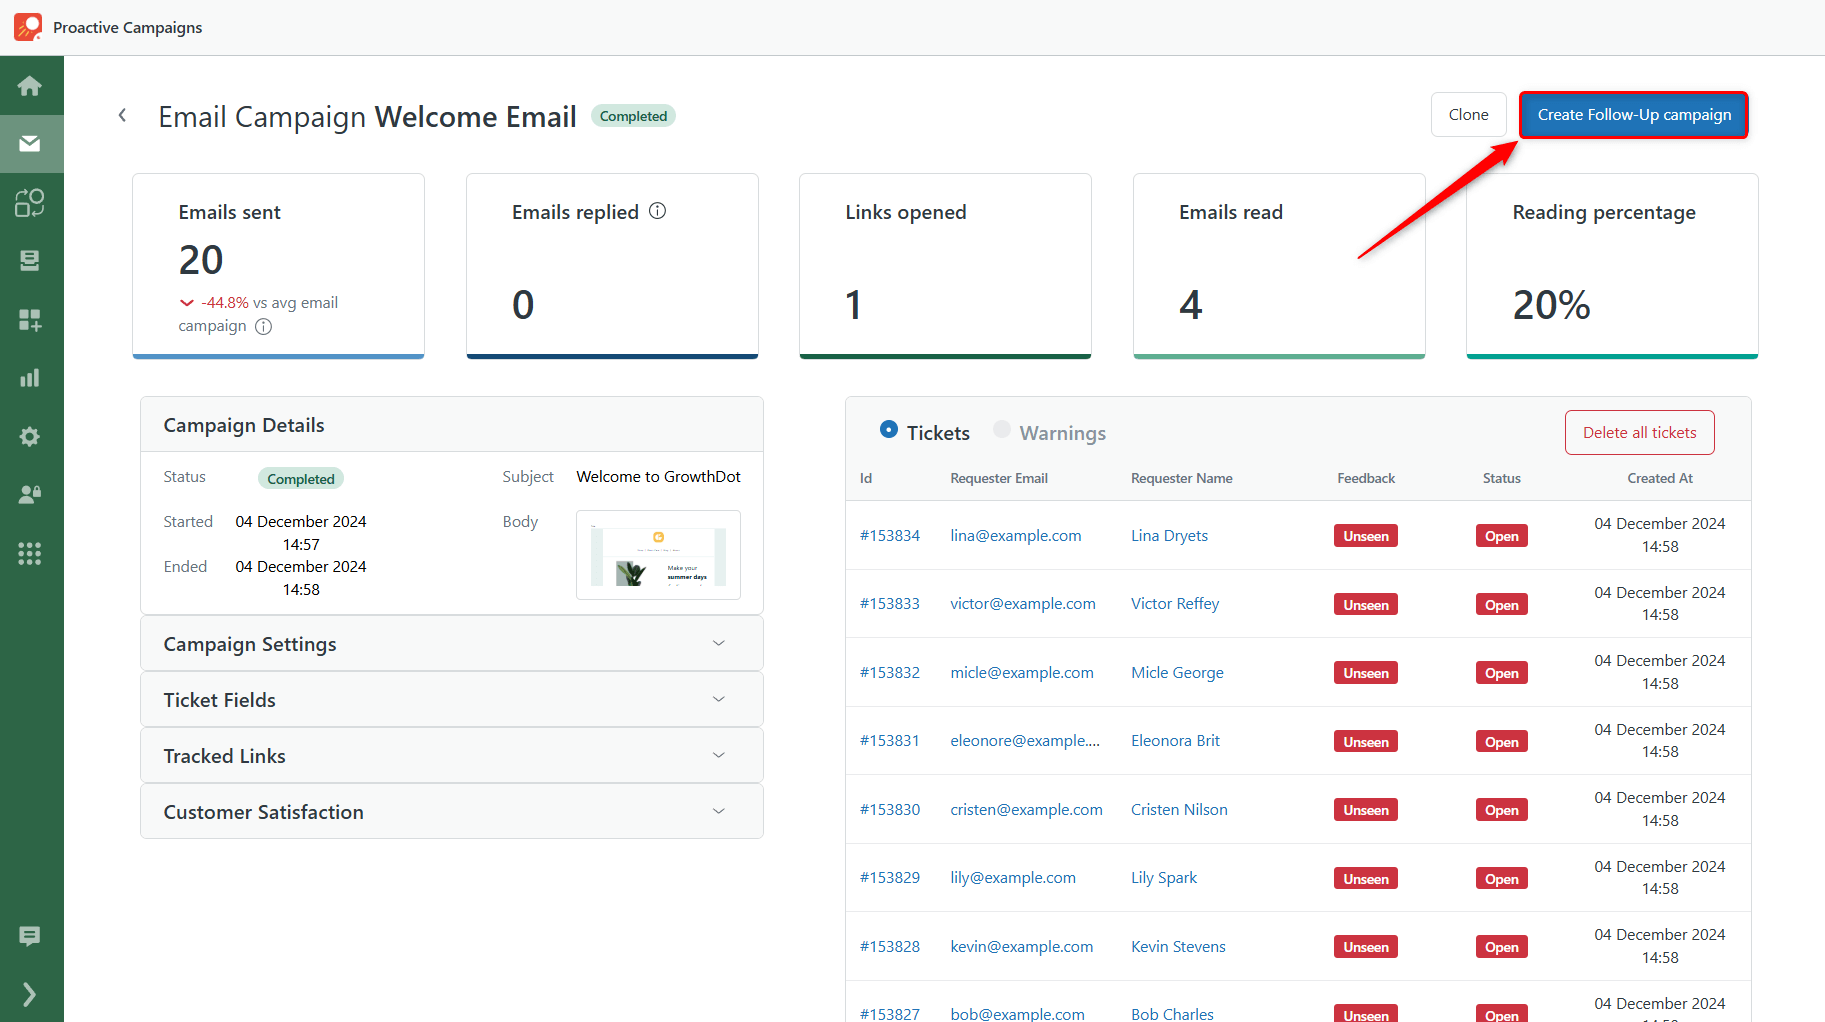
2. Then, you'll see the stats and other details of the campaign. So, click the Create follow-up campaign button.
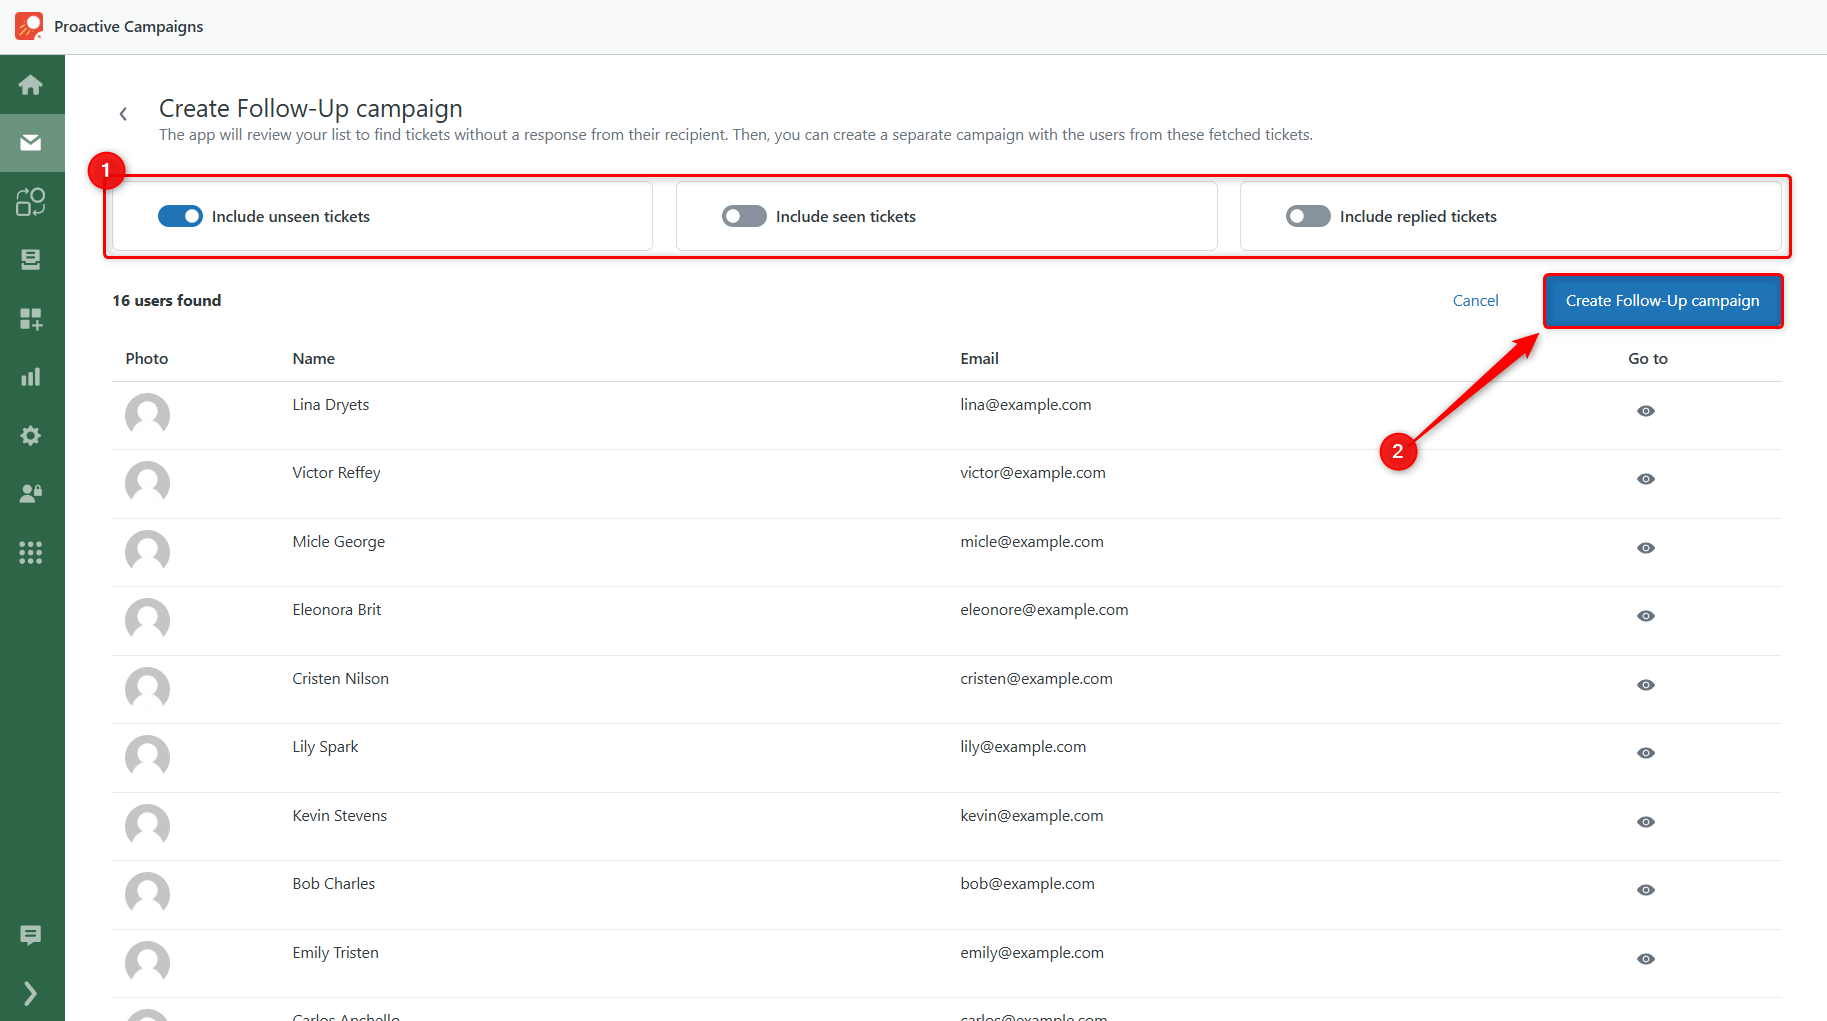
3. Now, you need to configure the target list to include seen/unseen/replied tickets for a follow-up. Once you are done, click Create Follow-up campaign again.
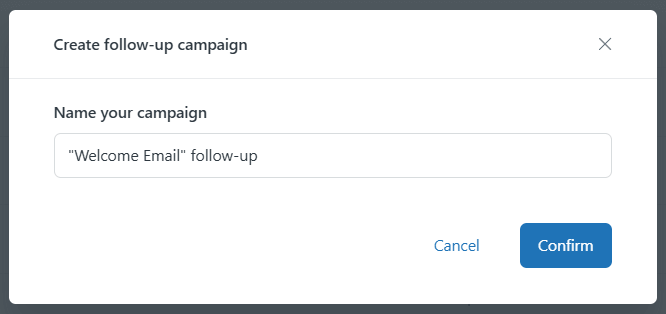
4. Next, name your campaign in the modal window and click Confirm to continue.
4. After, you'll proceed to the familiar campaign creation process with the selected users.
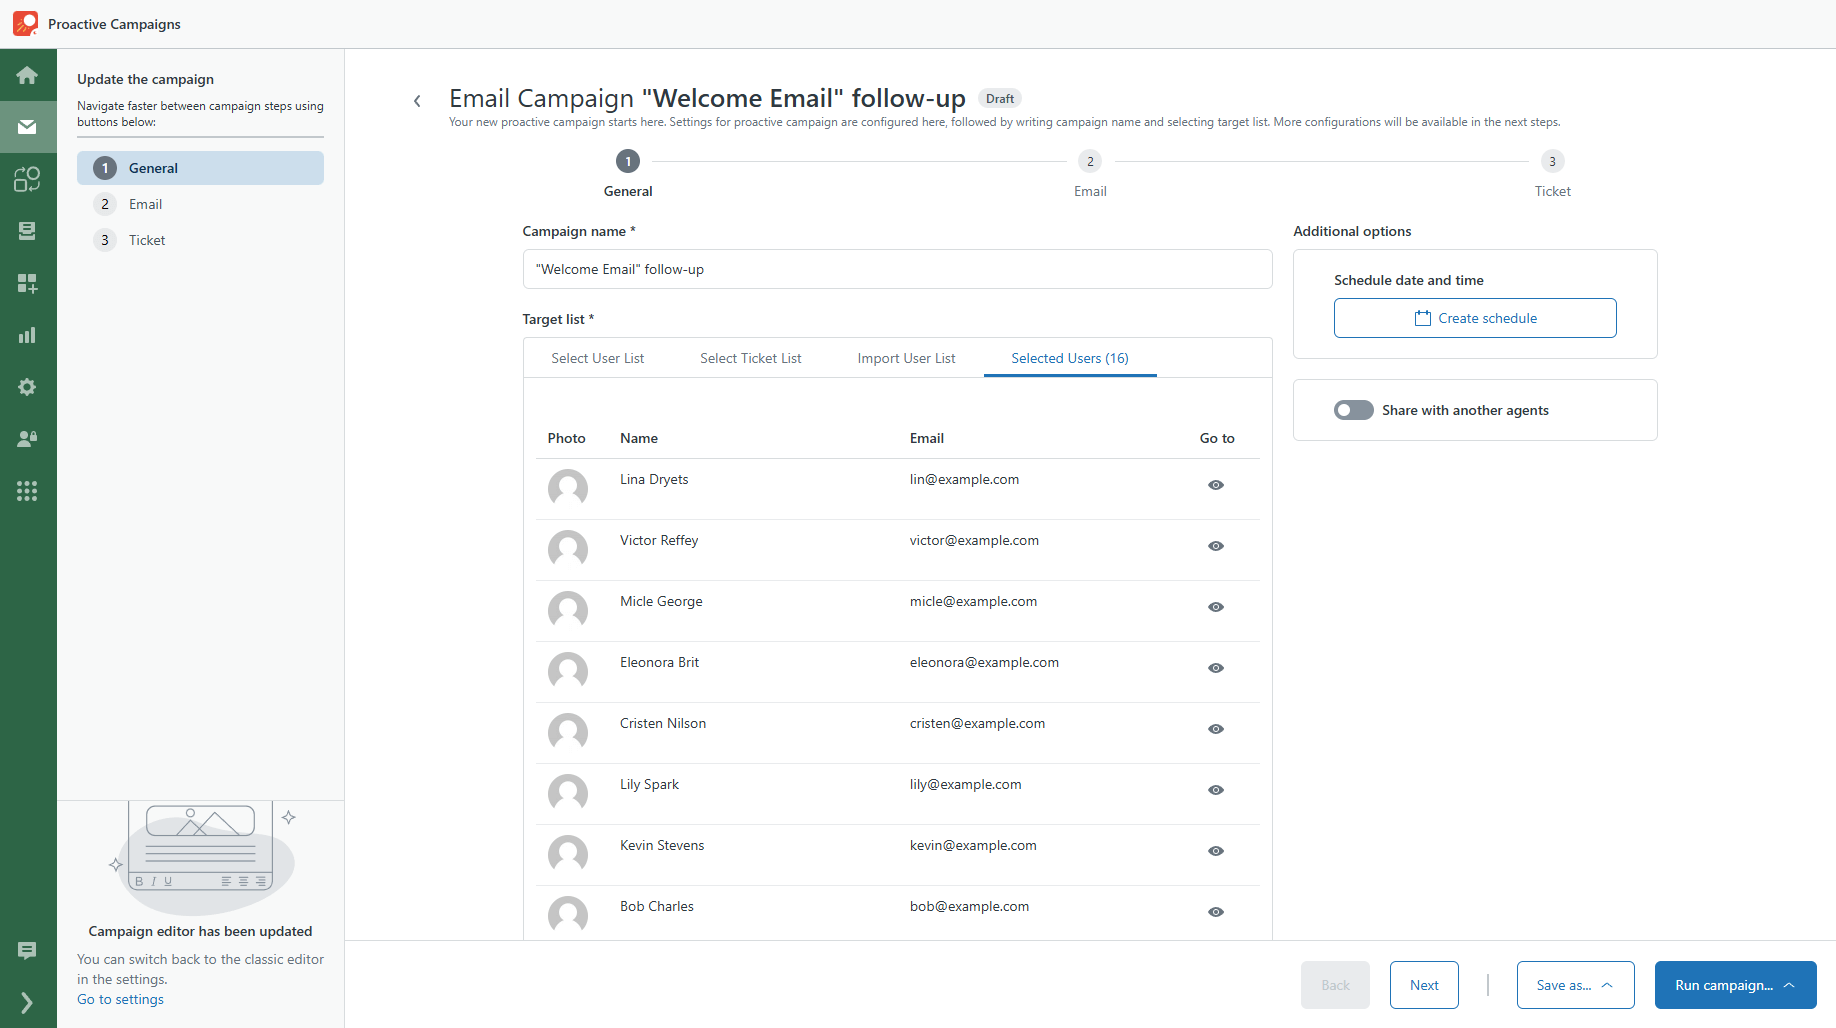
5. Follow the same steps as you did while creating a new campaign. Finally, schedule your follow-up campaign and click Save or hit Save and Run to start immediately.
That’s all for now. If you have further questions, contact us anytime.


