Usage guide: 'Rich-code and Source Code Editors Features'
- Proactive Campaigns
Have you struggled with any of the editors? We want to help you handle the issues you might have experienced or assist you in avoiding them. The main thing you should keep in mind is that Zendesk limits some editor abilities. A the same time, not all mail clients support the formatting you use to create an extraordinary email.
Considering these peculiarities, we suggest you read this article to avoid mistakes while working with both editors. The first section will cover the 'rules' regarding only the Source code editor. Next, you will find the information that regards both editors relatively.
How does Source Code Editor work?
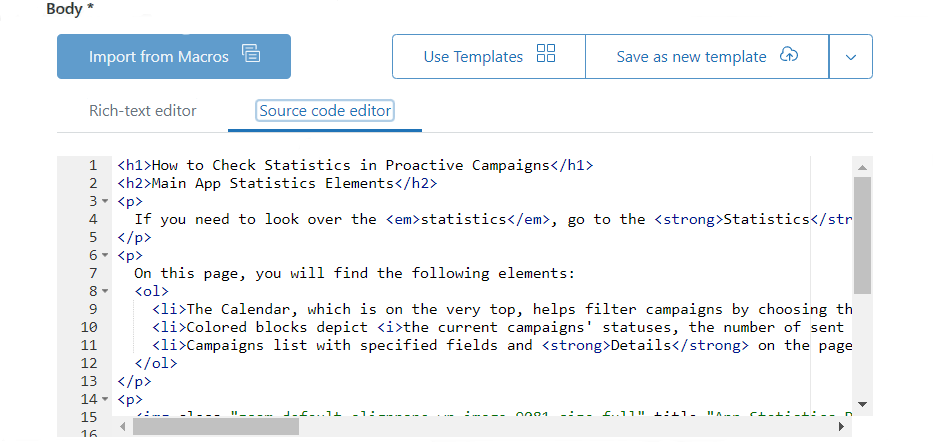
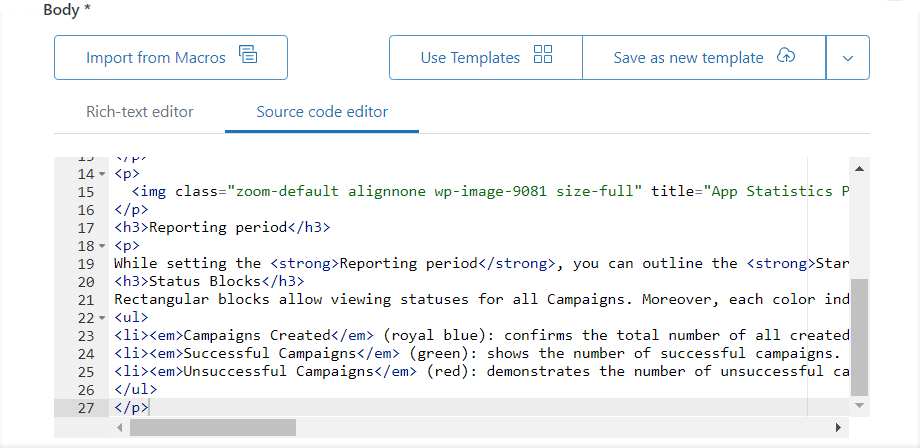
Indeed, it works quite the same way as the WordPress HTML editor. So, using our Source code editor might be easy if you have a similar experience. The logic is identical. So, you can insert an HTML code in the Source code editor section in the third stage of Proactive Campaigns creation to operate more formatting functions.
There are some restrictions you can meet in the future. For example, emails can be displayed improperly in different web browsers or email clients. Moreover, using too many formatting styles or unsafe tags/attributes can end up with emails in a spam category. So, try to keep customization as simple as possible to bypass such inconveniences.
What should I do to avoid mistakes while editing emails?
- Use CSS1 or CSS2 style declarations.
- Do not use such tags as:
<head>,<video>,<link>,<script>. They are undesirable. - Additional selectors and pseudo-classes will be omitted if you use tag
<style>. The reason is that styles from a tag<style>will be transformed into an attribute style ='...'. So, using pseudo-classes or additional selectors type: hover has no sense. - You can still use Zendesk placeholders to send personalized emails.
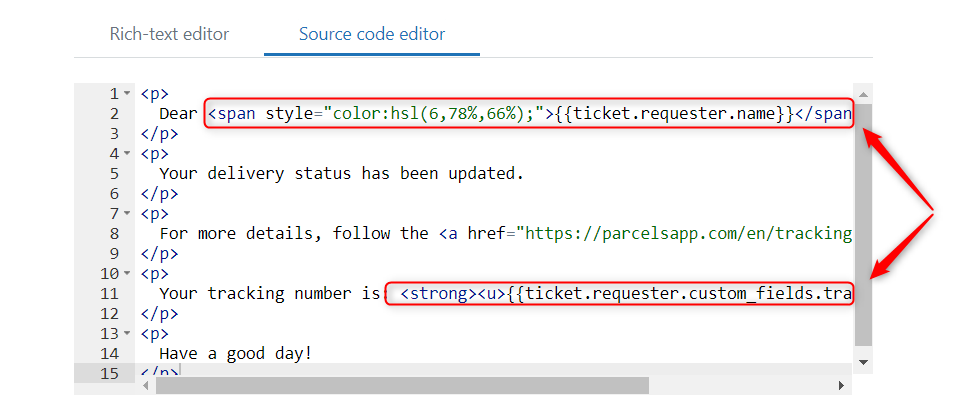
- Select the entire placeholder with curly brackets ( {{...}} ) while applying the formatting.
- Cut down on adding div sections and using a lot of text formatting. It can trigger spam filters.
- Insert only a body into the Source code editor. Otherwise, the editor shortens an HTML code, leaving a body text.
- Images should be limited to the lowest amount of usage and downscaled.
- Images you use should have the alt attribute. So users will see an image description before it is displayed on a screen.
- Try to define an image's width and height if you know them. You'd better choose the absolute type of measurements such as pixels, em, etc.
- Avoid linking to images that are in a closed Zendesk. Some users may not be registered/signed in.
- Limit the usage of background images. Some email clients don't support them. If you need to overlay two layers or place one image behind another, use a third-party photo editor to handle this or adjust the composition.
- Do not use CSS style position or flexbox display for positioning elements. Instead, opt for more traditional positioning methods like margin: auto or tables.
- Stop using CSS transform, as Zendesk itself ignores this style.
- The font change peculiarities. The application uses fonts from the Zendesk email templates, and you cannot redefine them for a separate email or its part.
- Be careful with inserting vector images, as some mailing clients do not support them. It would be better to rasterize vector images before usage.
A Brief List of Common Tags and Attributes with Definitions
Tags:
<strong>– indicates that the content in this tag is important and urgent. Looks like bold text.<b>– highlight text as bold, but it doesn't assign any importance to the content.<em>– the stress mark of a text. Looks like an italic-style font.<i>– reflects an alternative text like terms, citations, and so on, and it is also represented as italic style font.<h1>,<h2>,<h3>,<h4>,<h5>,<h6>– defines headings, where h1 is the highest level section and h6 is the lowest one.
<h1>, <h2>, <h3> tags. Overusing <h4>, <h5>, and <h6> tags may affect text readability.<p>– indicates paragraphs.<ul>– an unordered list, which is used together with the tag<li>.<ol>– an ordered list, which also is used together with the tag<li>.<li>– represents an item in a list and is used inside<ul>and<ol>tags.<div>– indicates a content division or a section.
Attributes:
- href ='...' – defines a URL of the page the link goes to.
- alt ='...' – an alternative text for an image, which appears when an image cannot be displayed on a screen.
- title ='...' – specifies extra information about an element.
- width ='...' and height ='...' – predictably, they outline the image’s width and height.


The complete list of allowed tags:
All supported attributes:
Supported attributes:
- For all 'tags': style, align, title, dir
- For 'img': src, alt, width, height
- For 'table': width
- For 'a': href, rel, target
- For 'th' and 'td': valign, colspan, rowspan
For Rich-text and Source code editors
Text conversion
First, we want you to know that some text is automatically converted into links. For example, #123 will be transformed into #123, and the same with example.com, as it will look like example.com. In Zendesk, you cannot turn off this option.
Placeholders
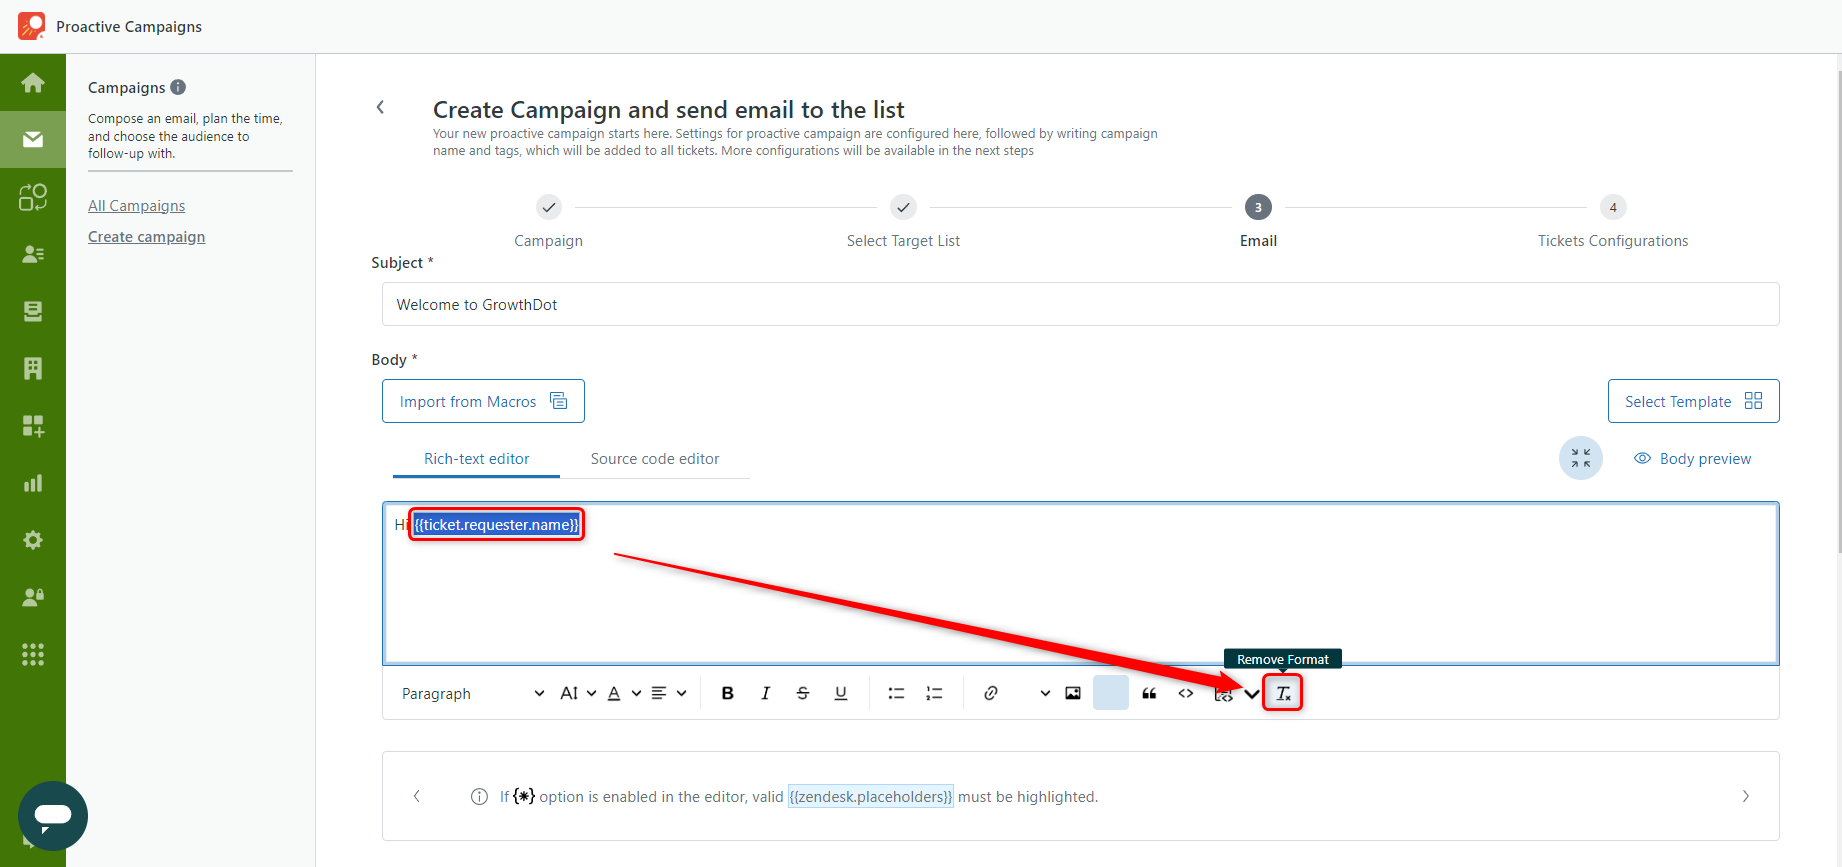
Placeholders are useful when you want to provide a personalized approach and automate some processes. However, it would be best if you were extremely careful while applying the formatting to them. So, select the entire code with curly brackets when you get a shortcode between tags. If you separate the placeholders’ text part from curly braces, it will be broken and not displayed correctly in the email campaign.

In the Rich-text editor, you can select the shortcode and click the Remove Format button on an instrument panel.

If you have any questions or propositions, contact our support team.


