How to install Zendesk Theme
-
Custom Themes
Improve your Help Center with our ready-for-service themes, or choose a specially customized one that meets your demands! To install the theme you need a downloaded .zip file with Zendesk Theme you have already purchased. Before purchase, you can see the demo version of Aarhus Theme and Odense Theme. Then follow the stages:
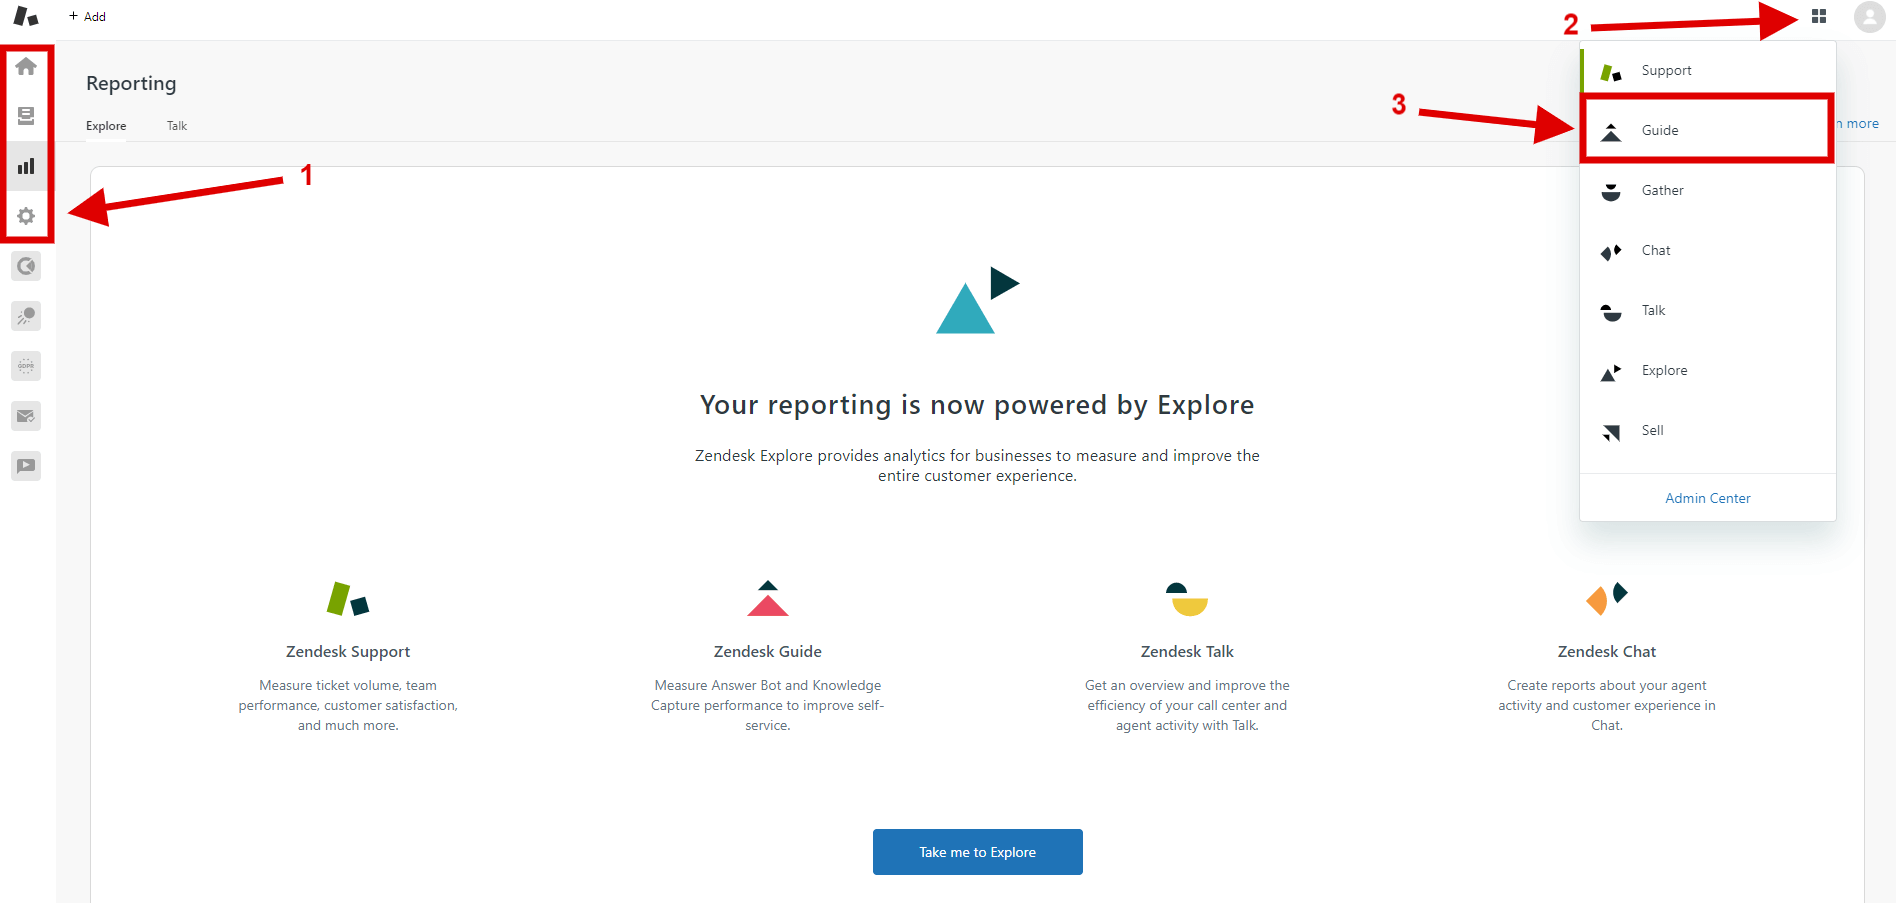
1. Select "Zendesk Guide" page to install the theme. To do it choose any tab in your "Zendesk Support". In the upper right corner click the "Zendesk Products" icon and choose "Zendesk Guide".
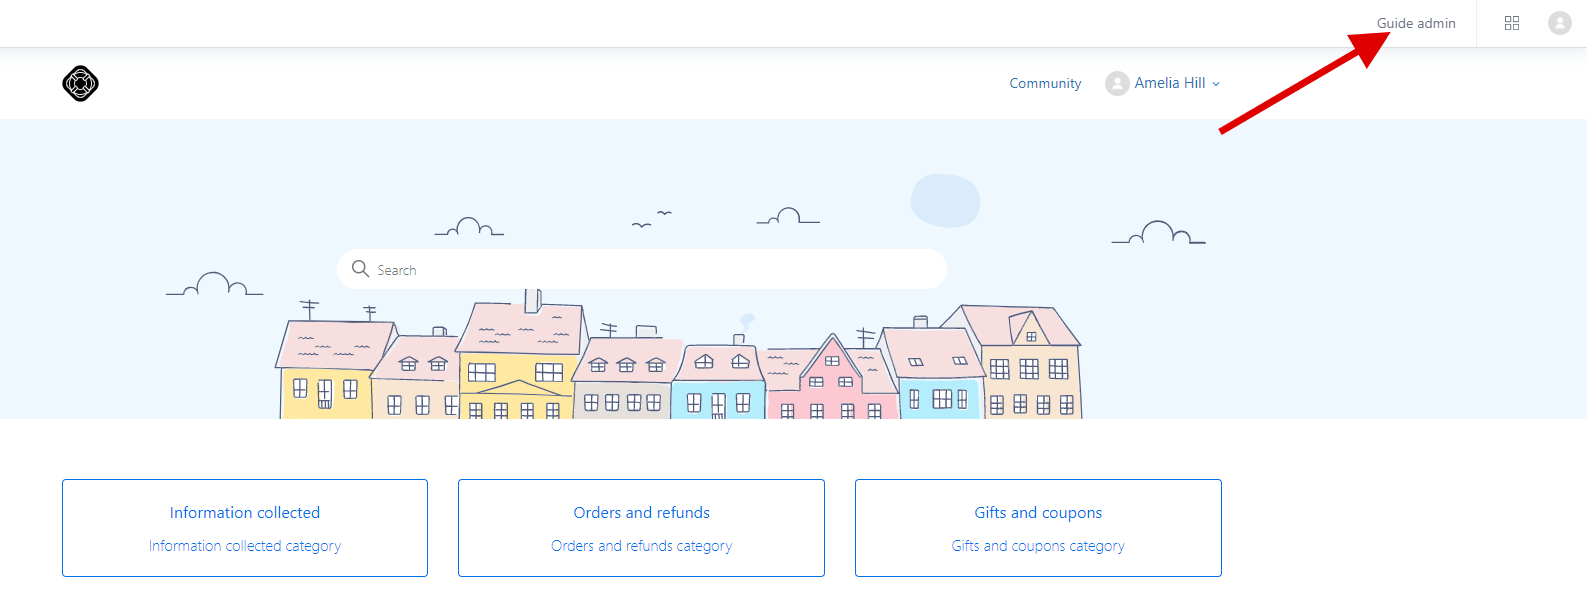
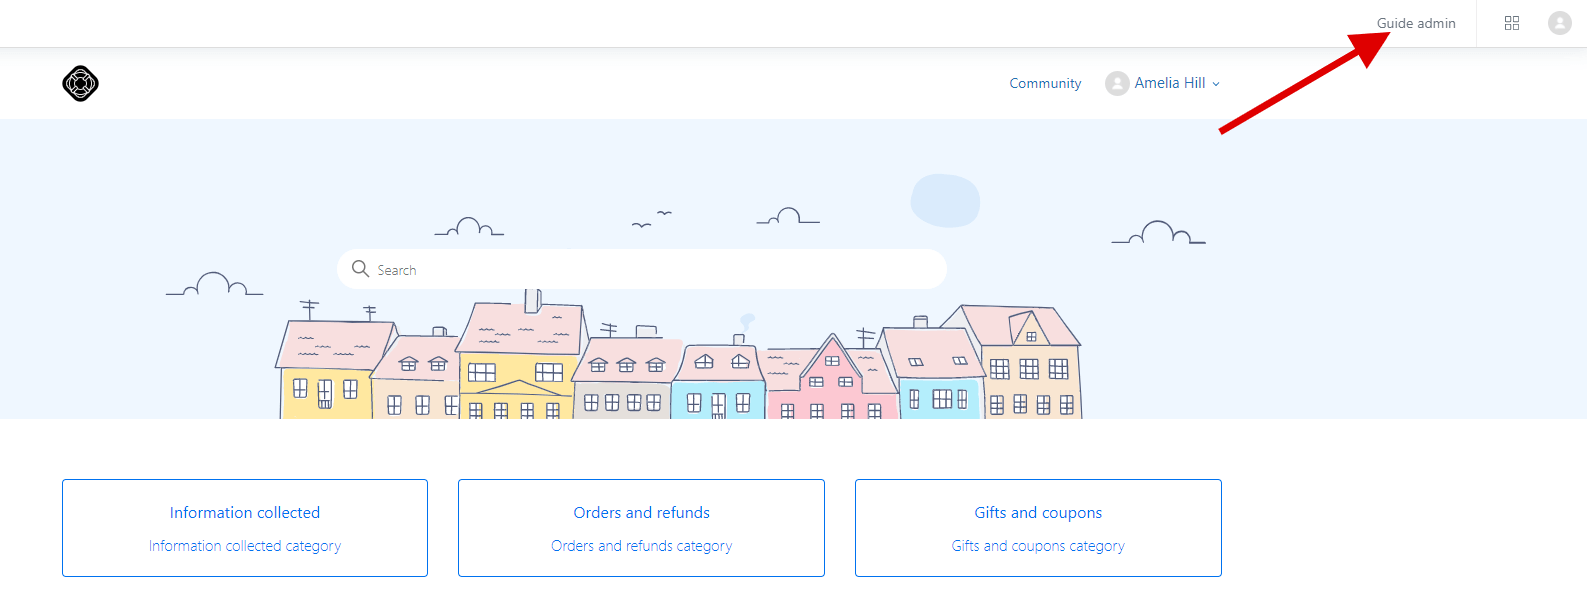
2. Then in the upper right corner select "Guide Admin".
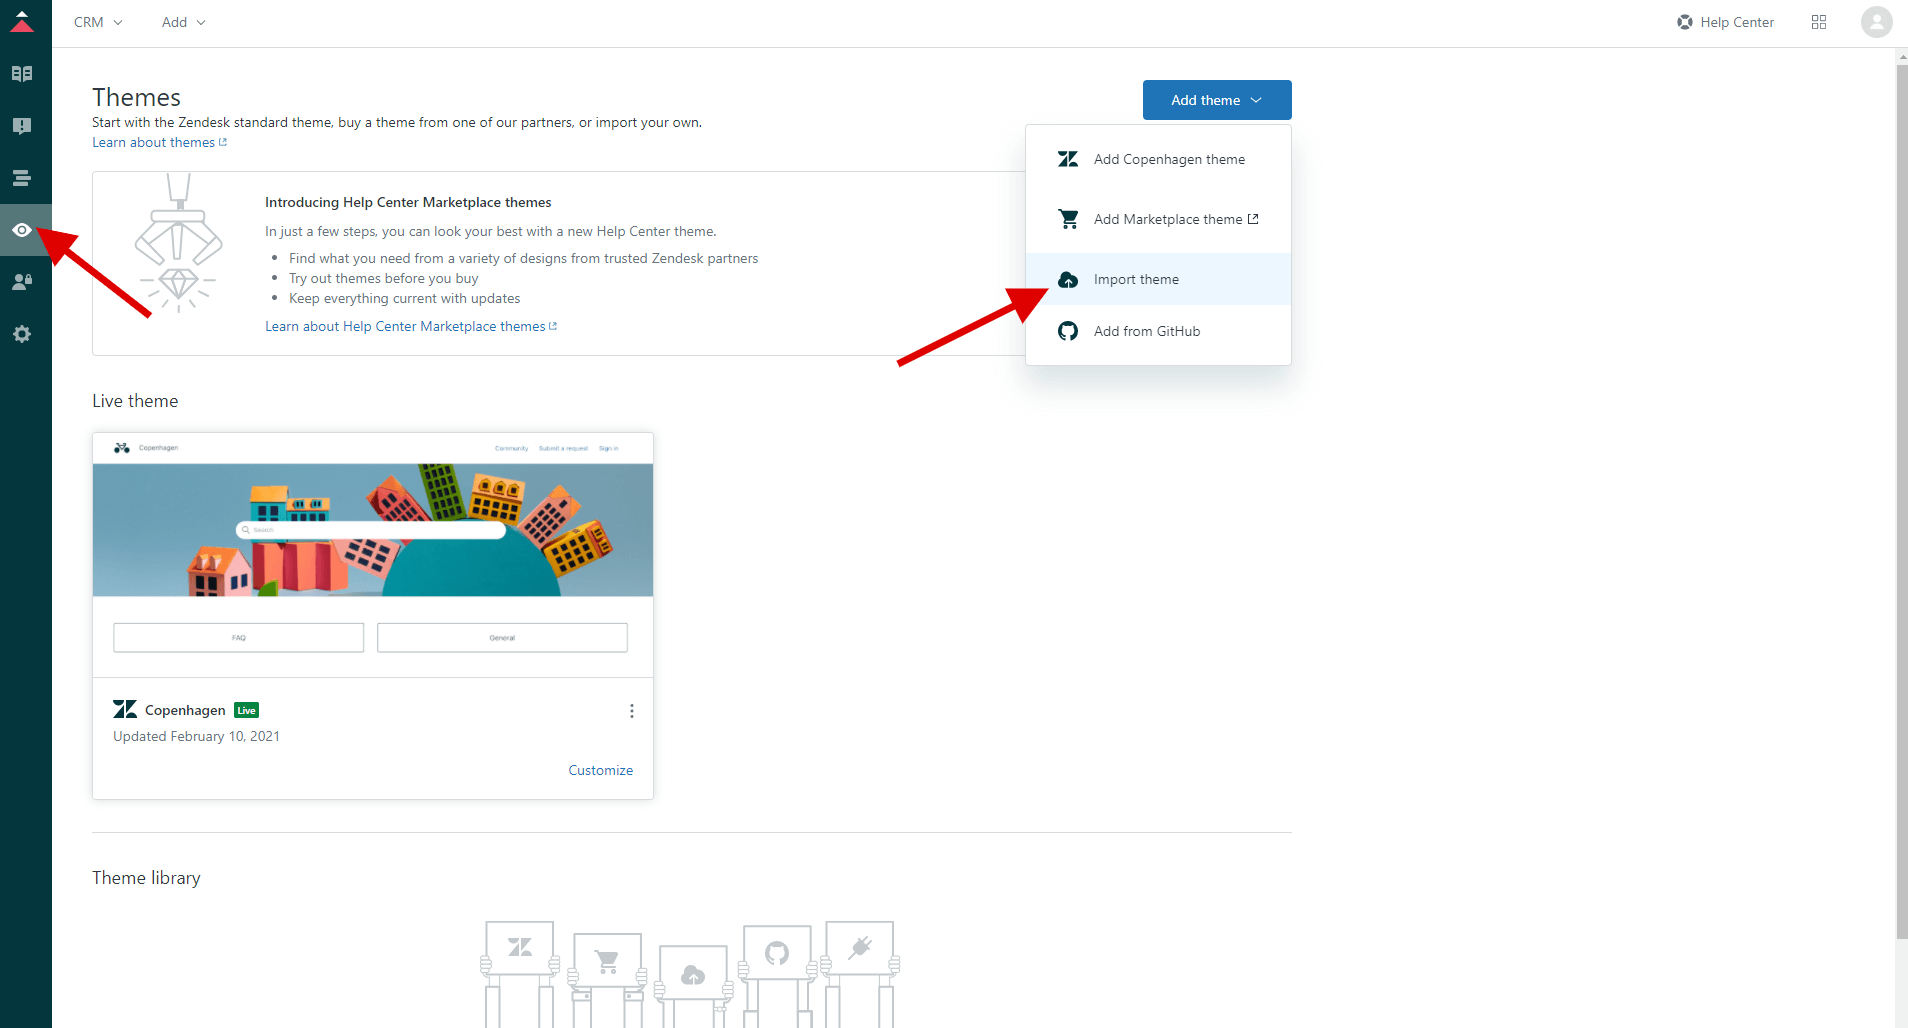
3. Click on the “Customize design” icon on the sidebar and click the “Add theme” button on the right. Select the import theme option.
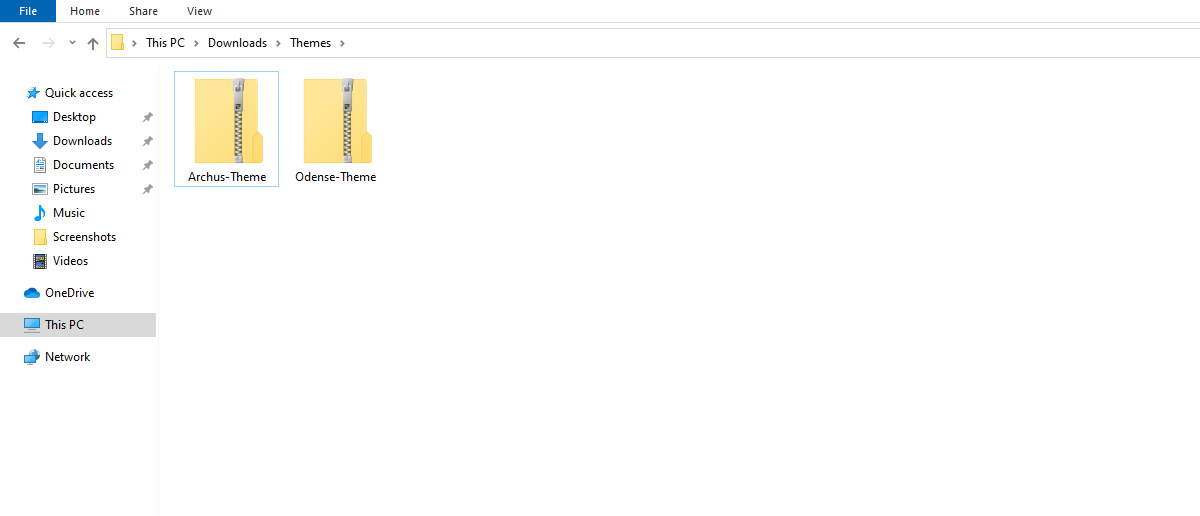
4. Upload the .zip archive which contains a particular theme.
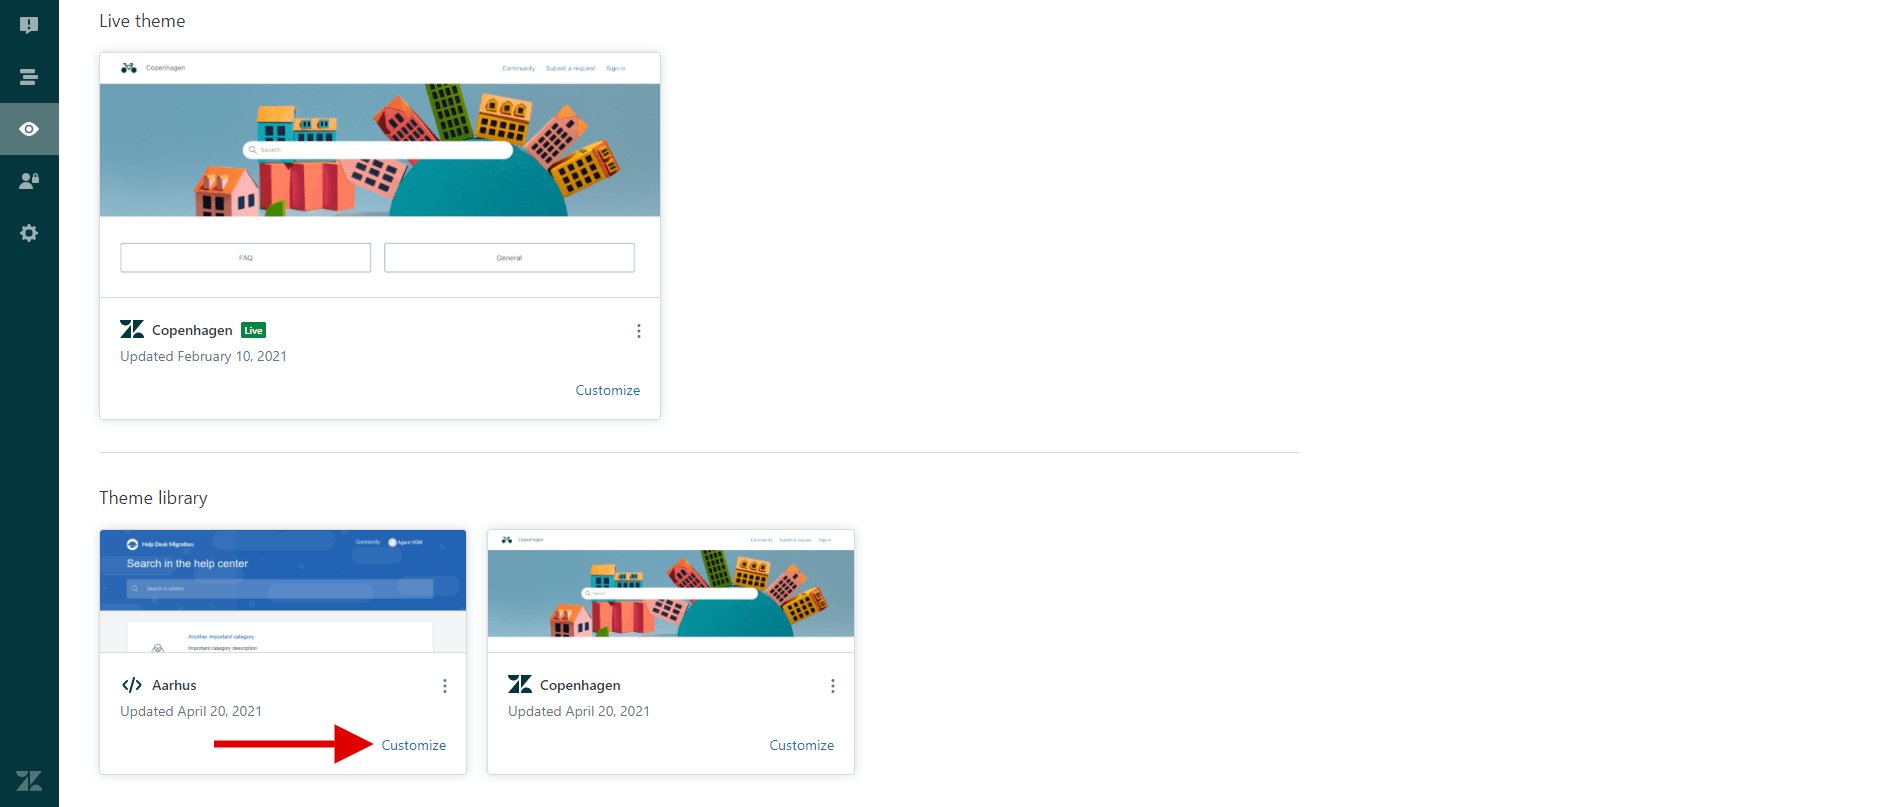
5. The theme will then appear in the “Theme Library” section. Click the “Customize” button to preview it.
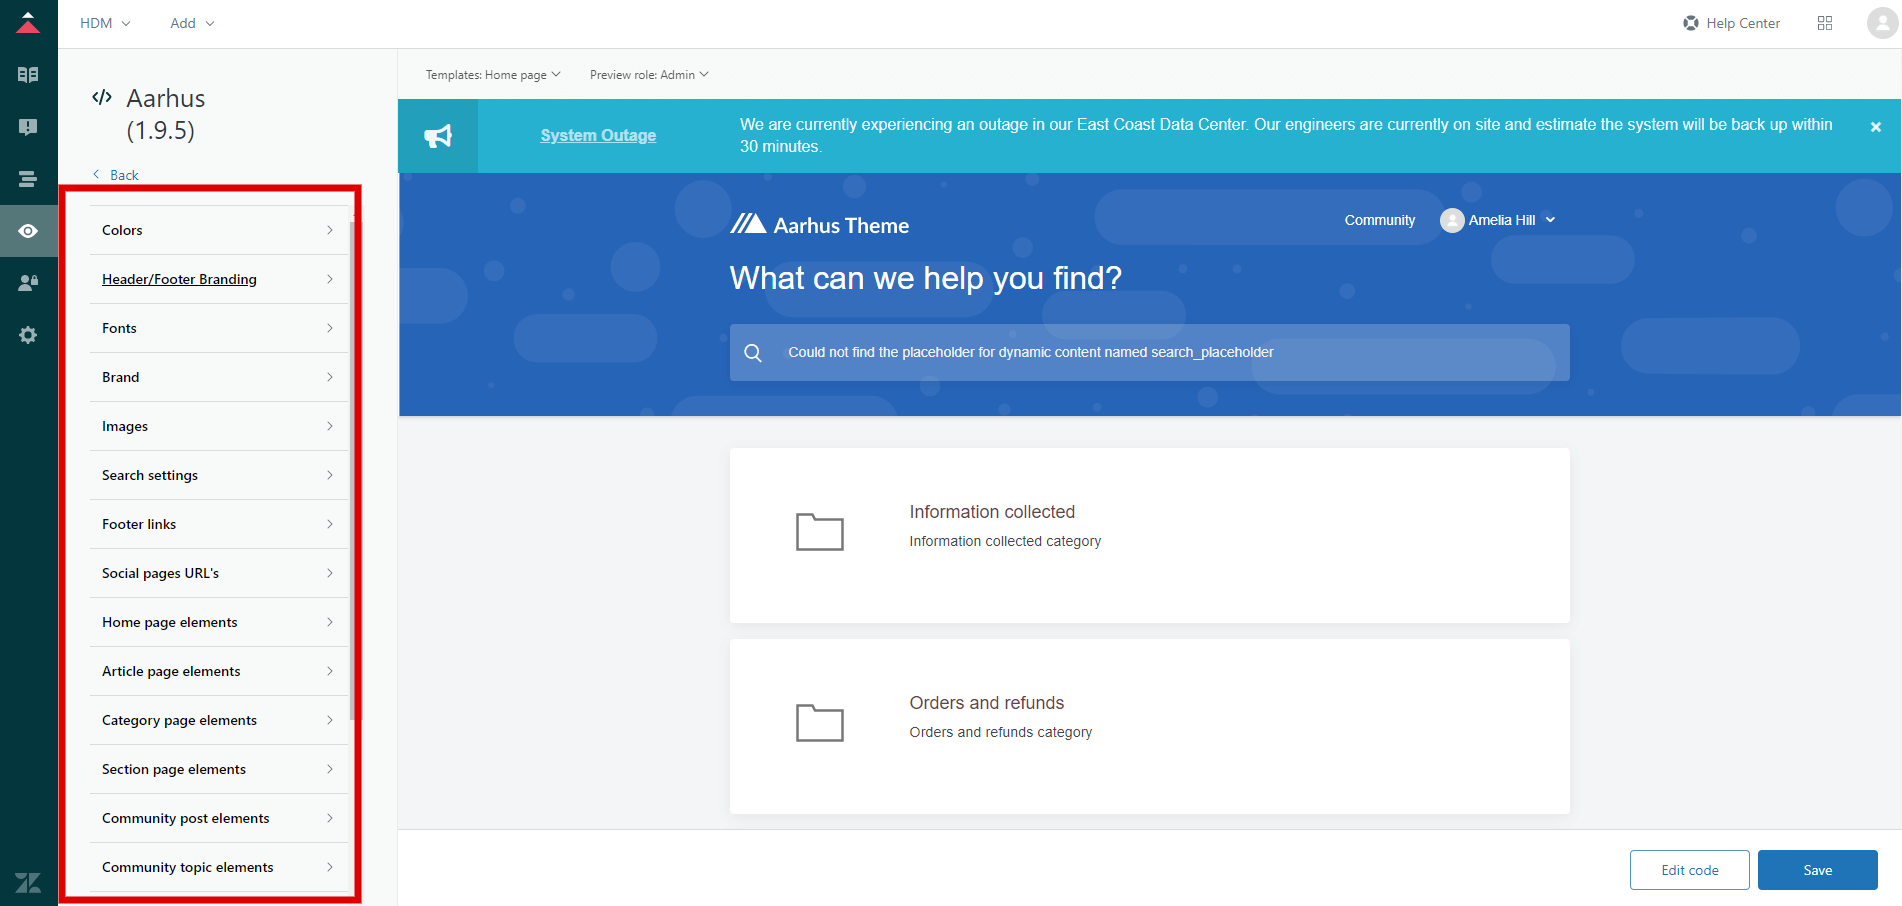
You can change some elements (text colors, fonts, links, images, post elements, page elements, topic elements, search settings, etc.).
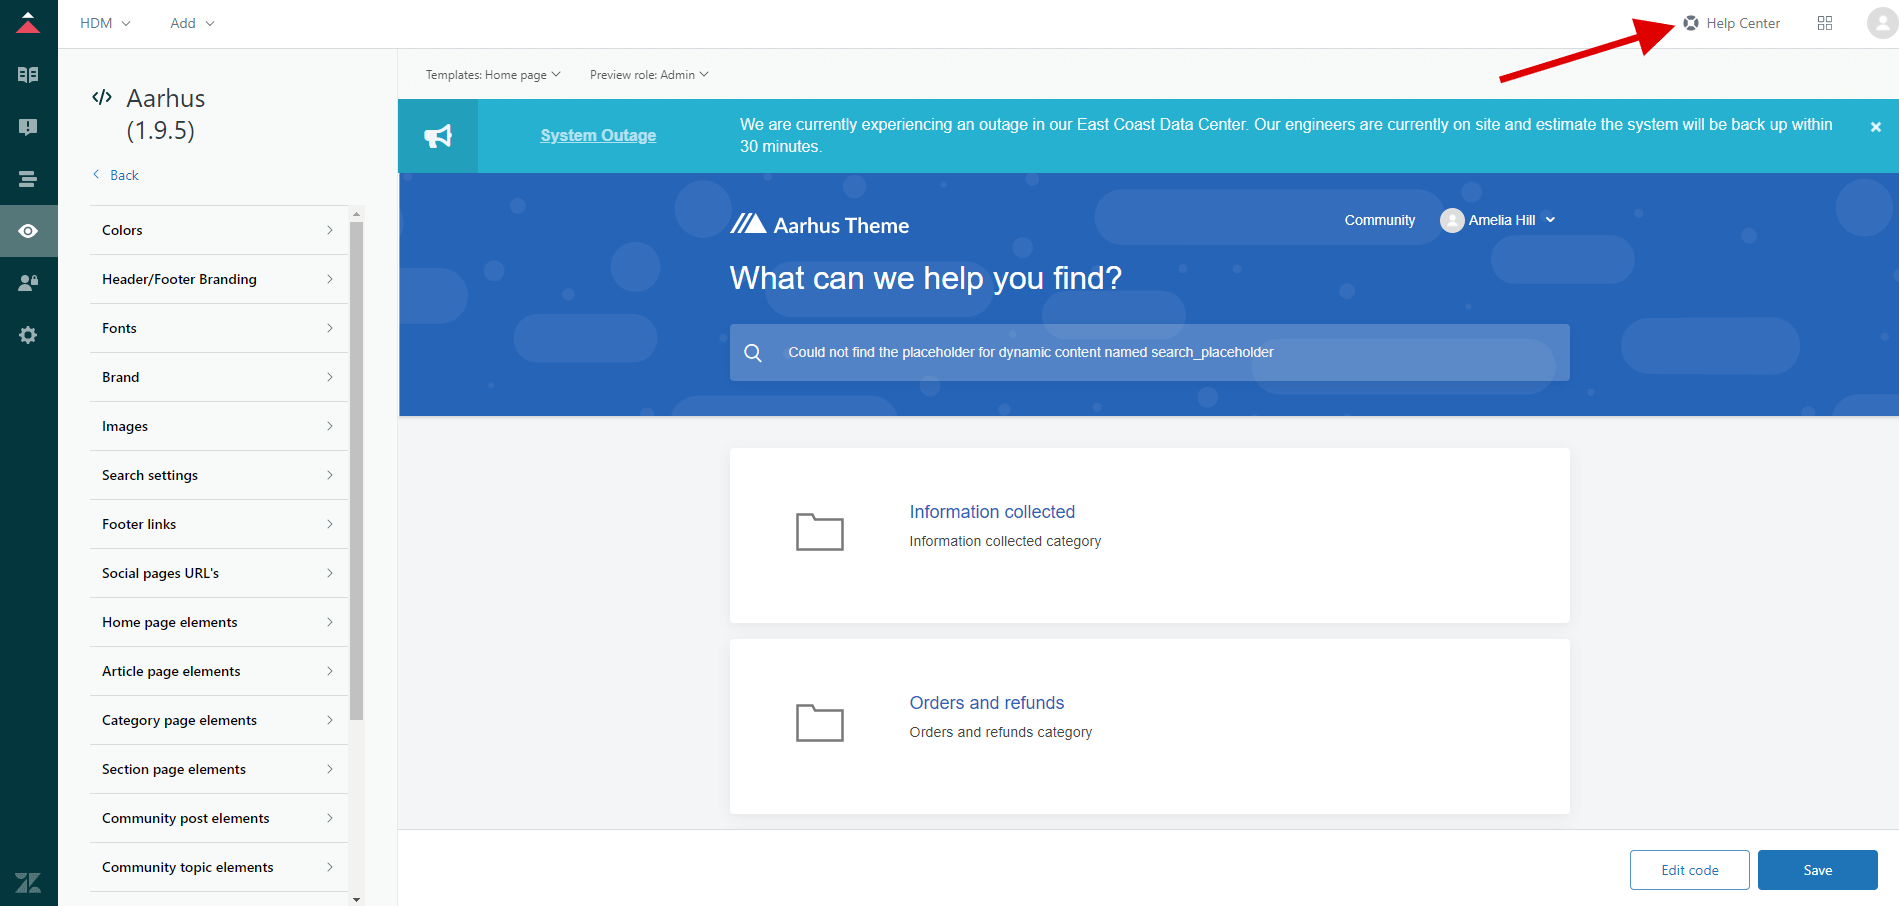
6. Click “Help Center” to check the theme’s preview on the real page.
You can choose the specific page view in the drop-down menu at the top of the page.
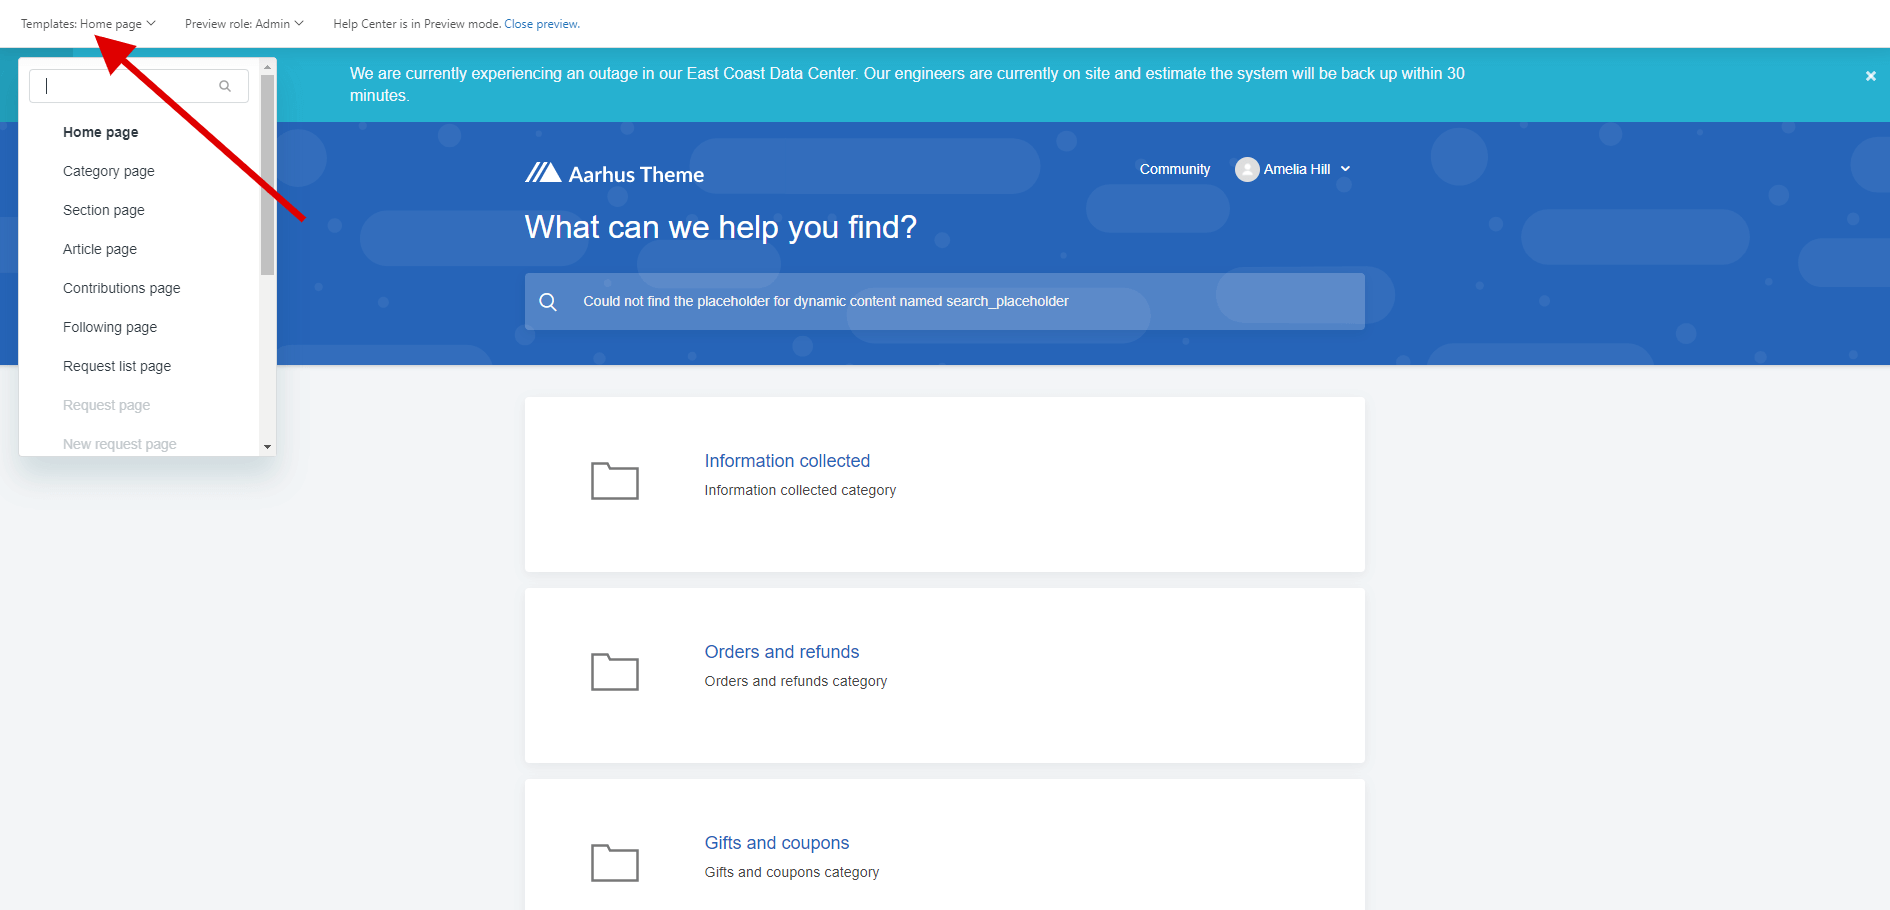
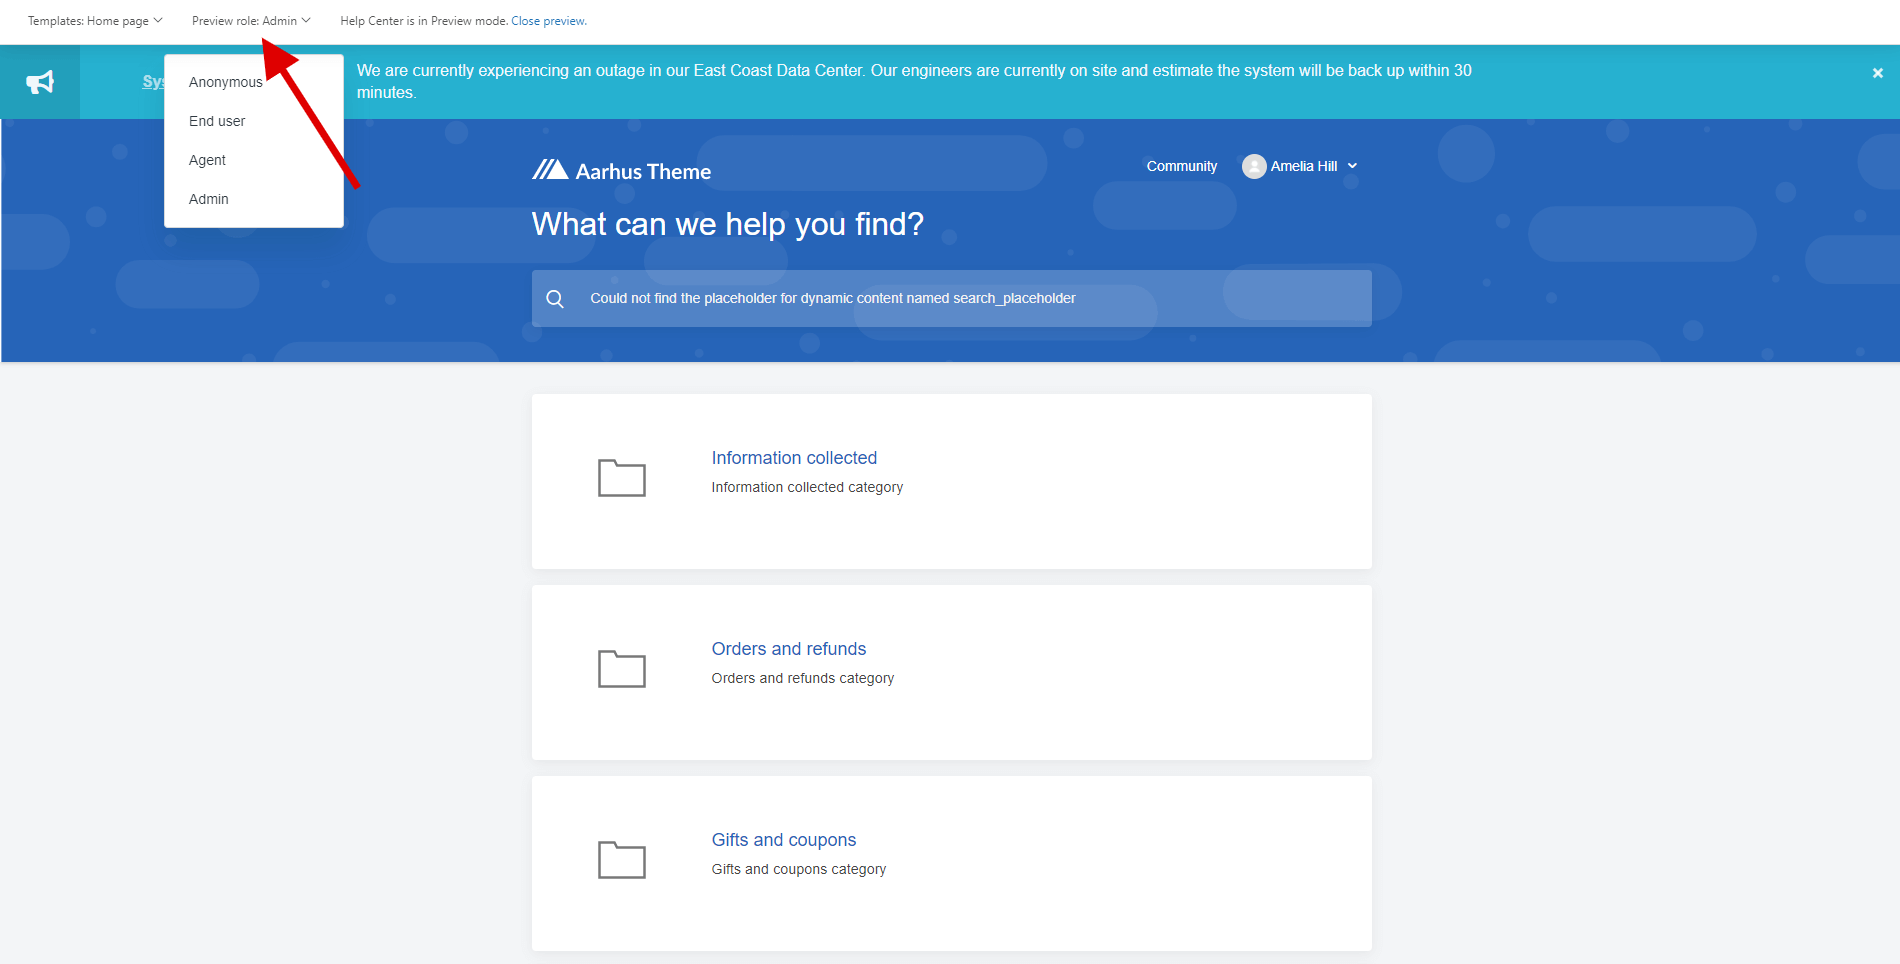
Previewing the theme as an agent, end-user, or anonymous user is also an available option. To switch between roles, click the “Preview role” menu at the top bar panel.
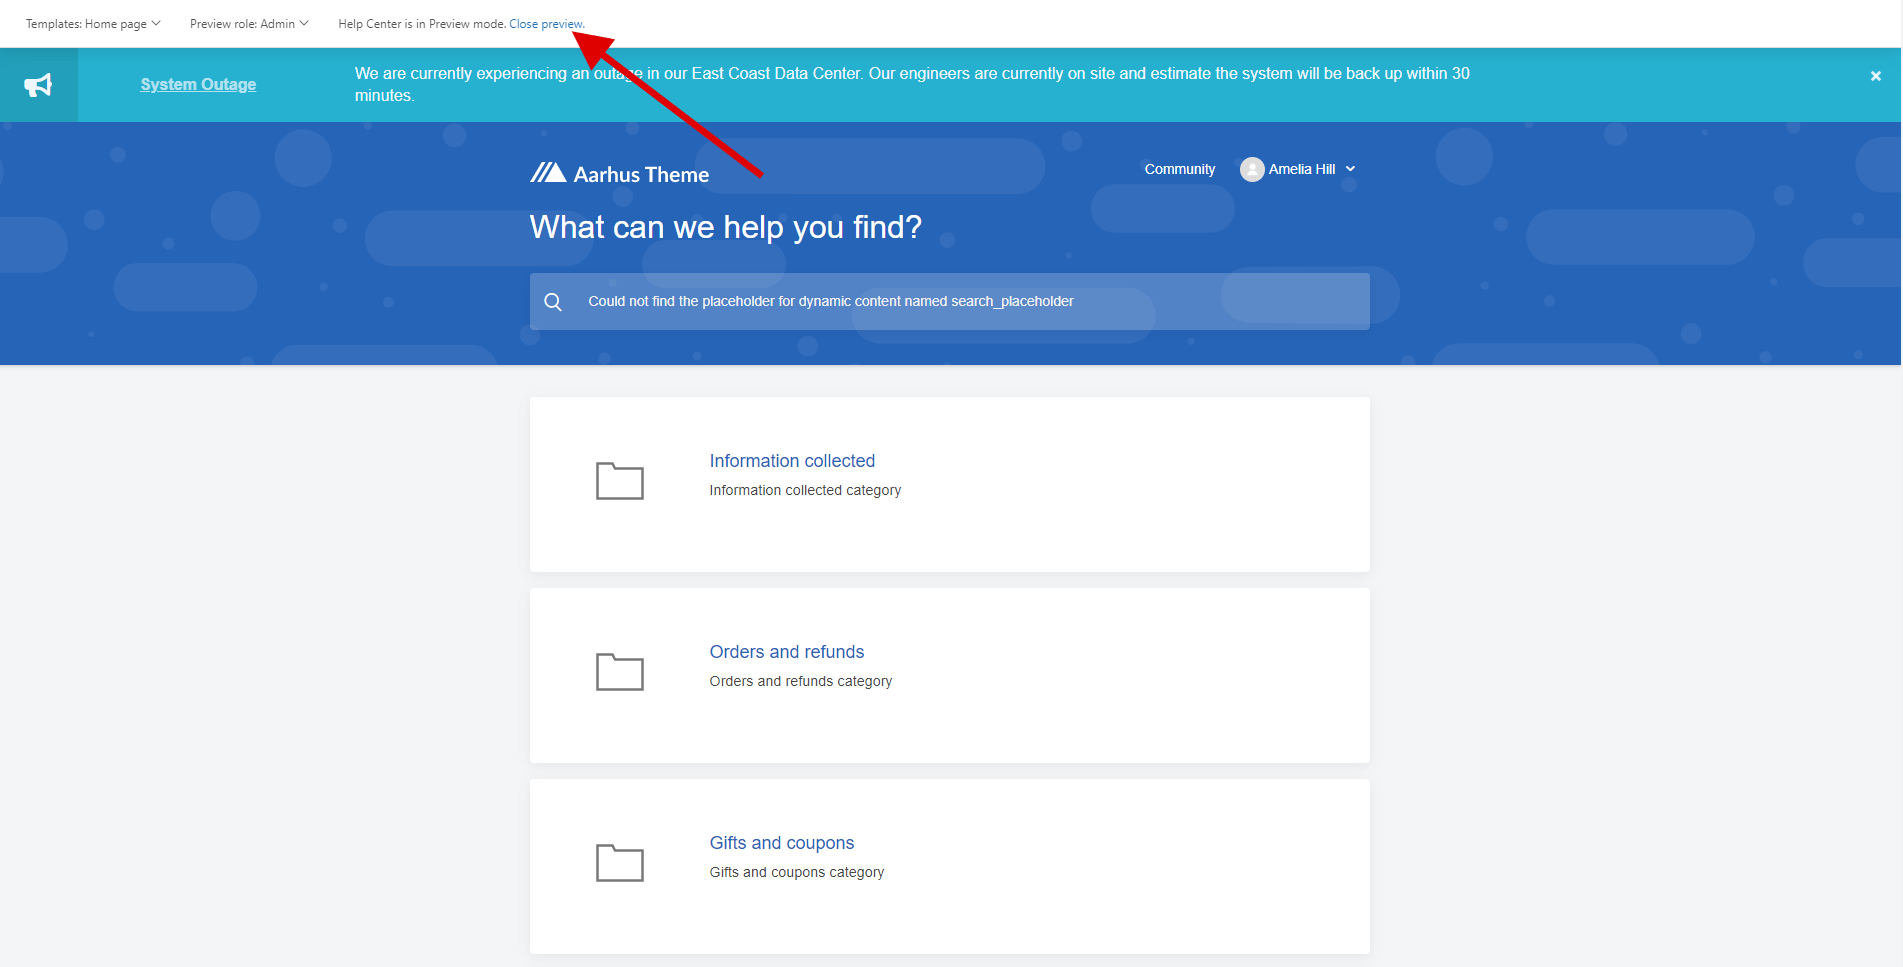
7. If you are ready to publish the theme click on the “Close preview” link.
8. Then go back to the "Guide admin" page.
9. Click the three dots above the “Customization” button and select the “Set as live theme” option.
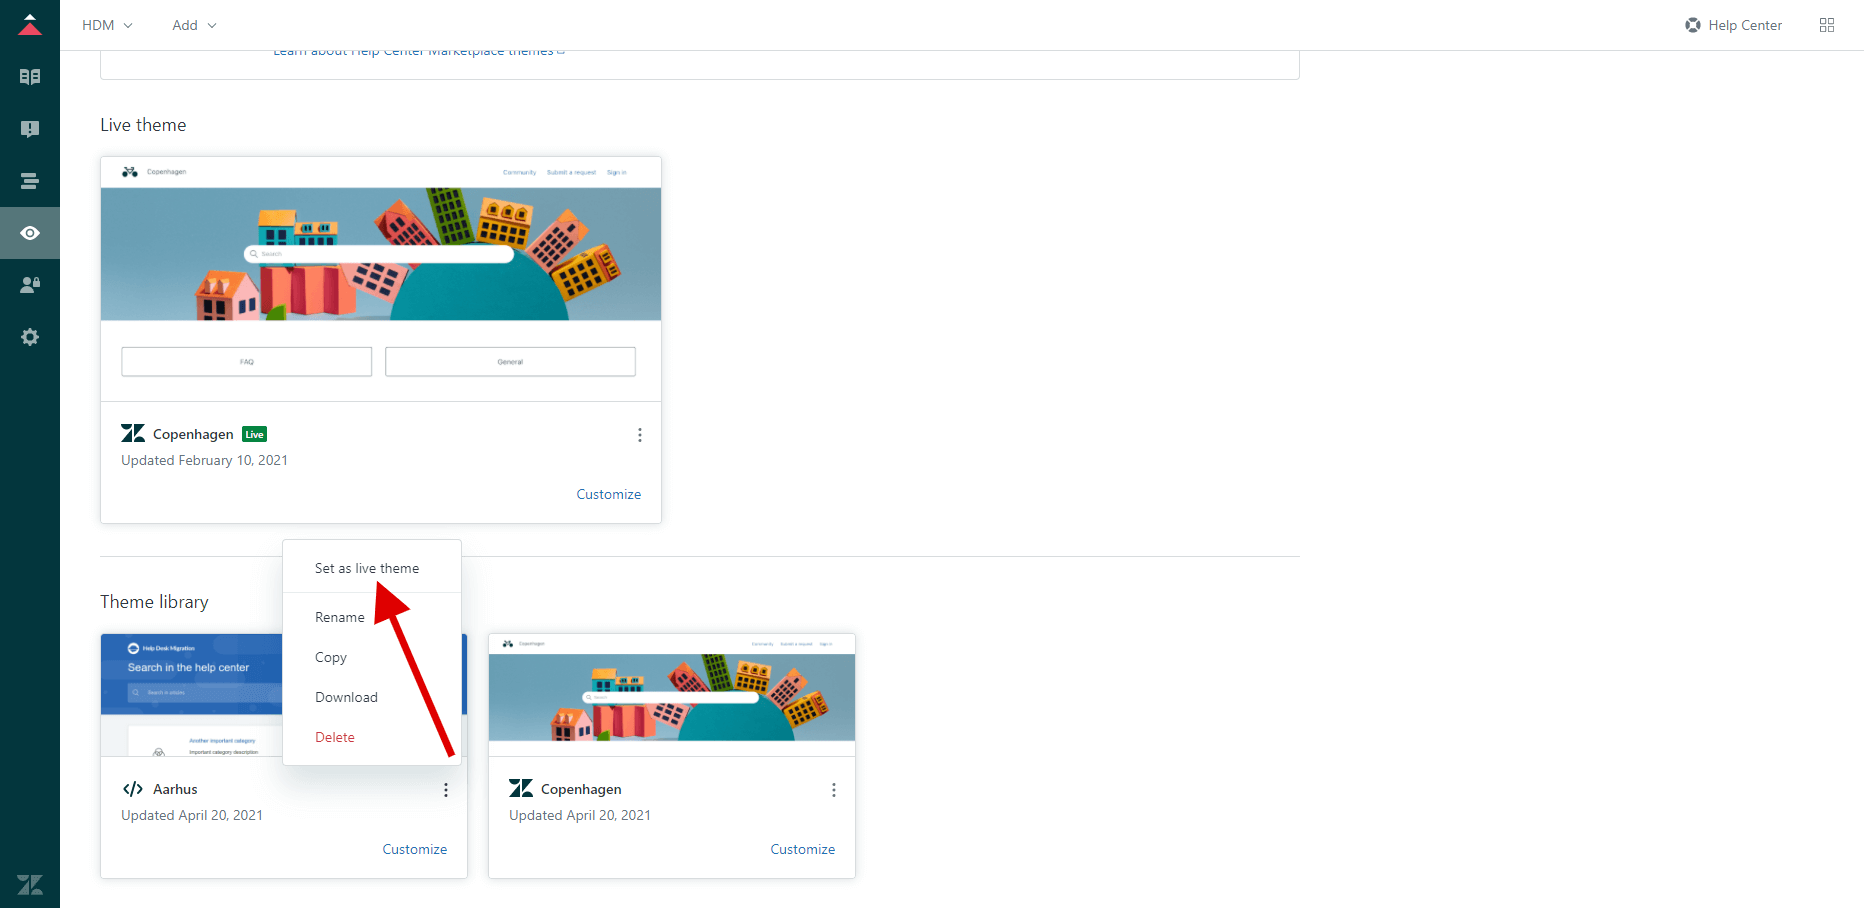
10. After confirmation, the selected theme will automatically be displayed in the “Live Themes” section.
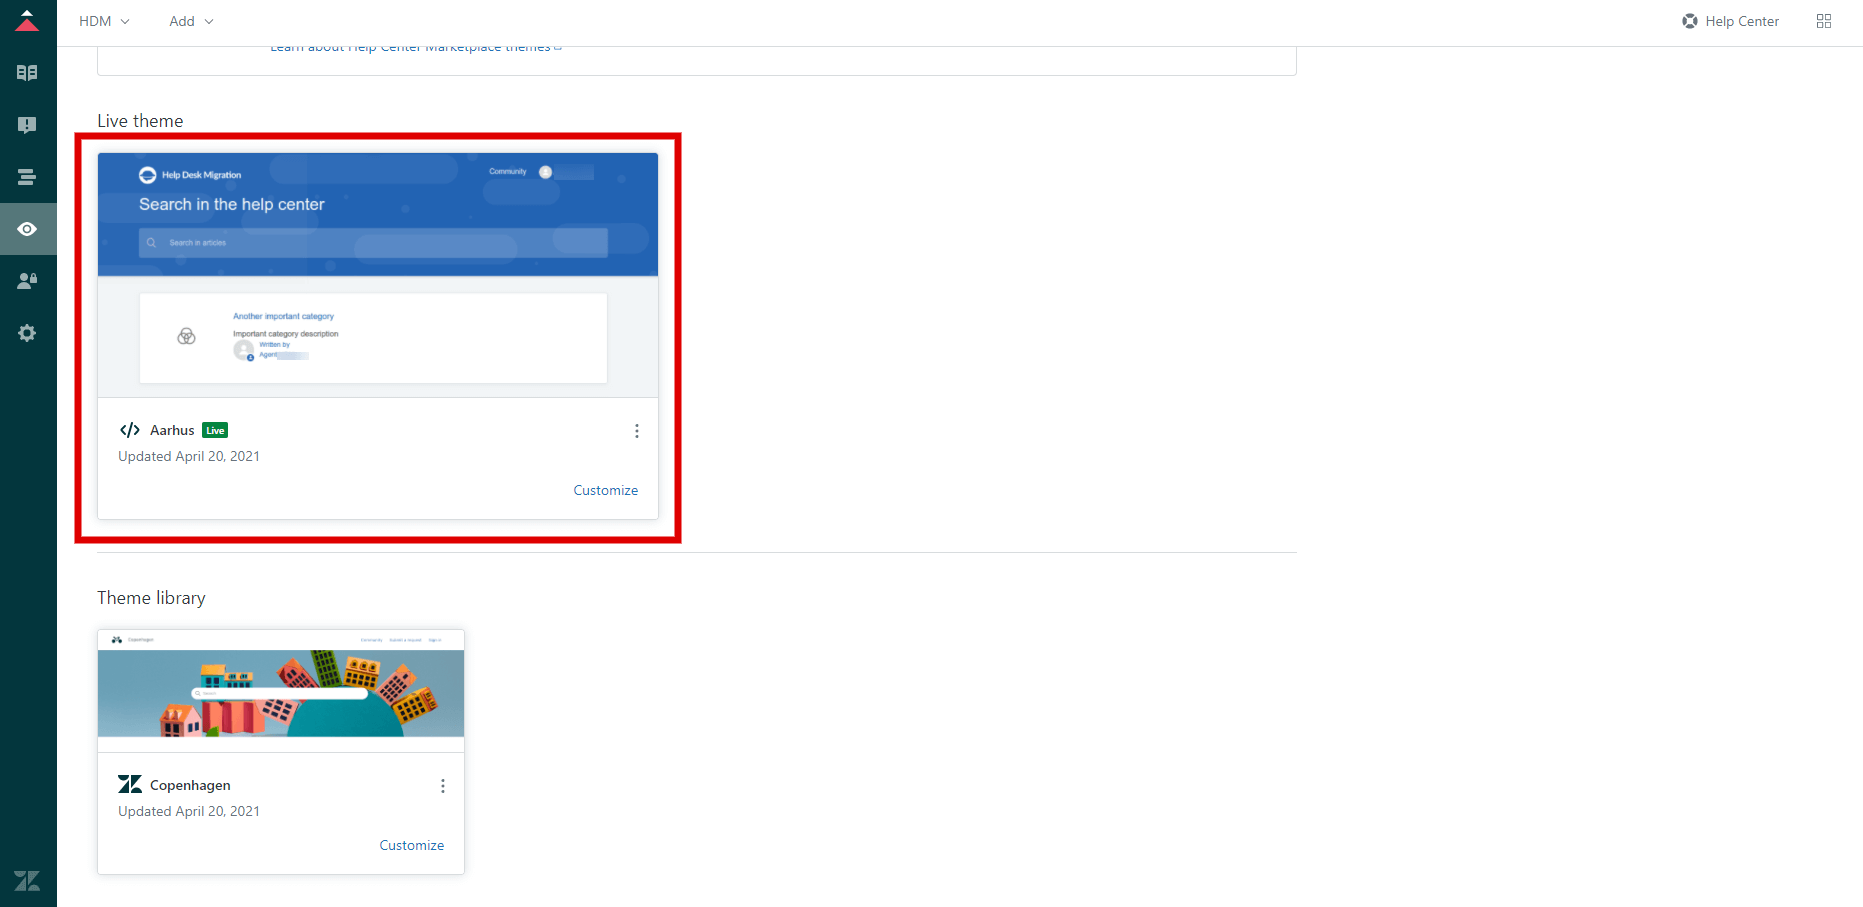
11. Enjoy the result!


