How to Set Up Email Tracking Triggers
-
Email Tracking
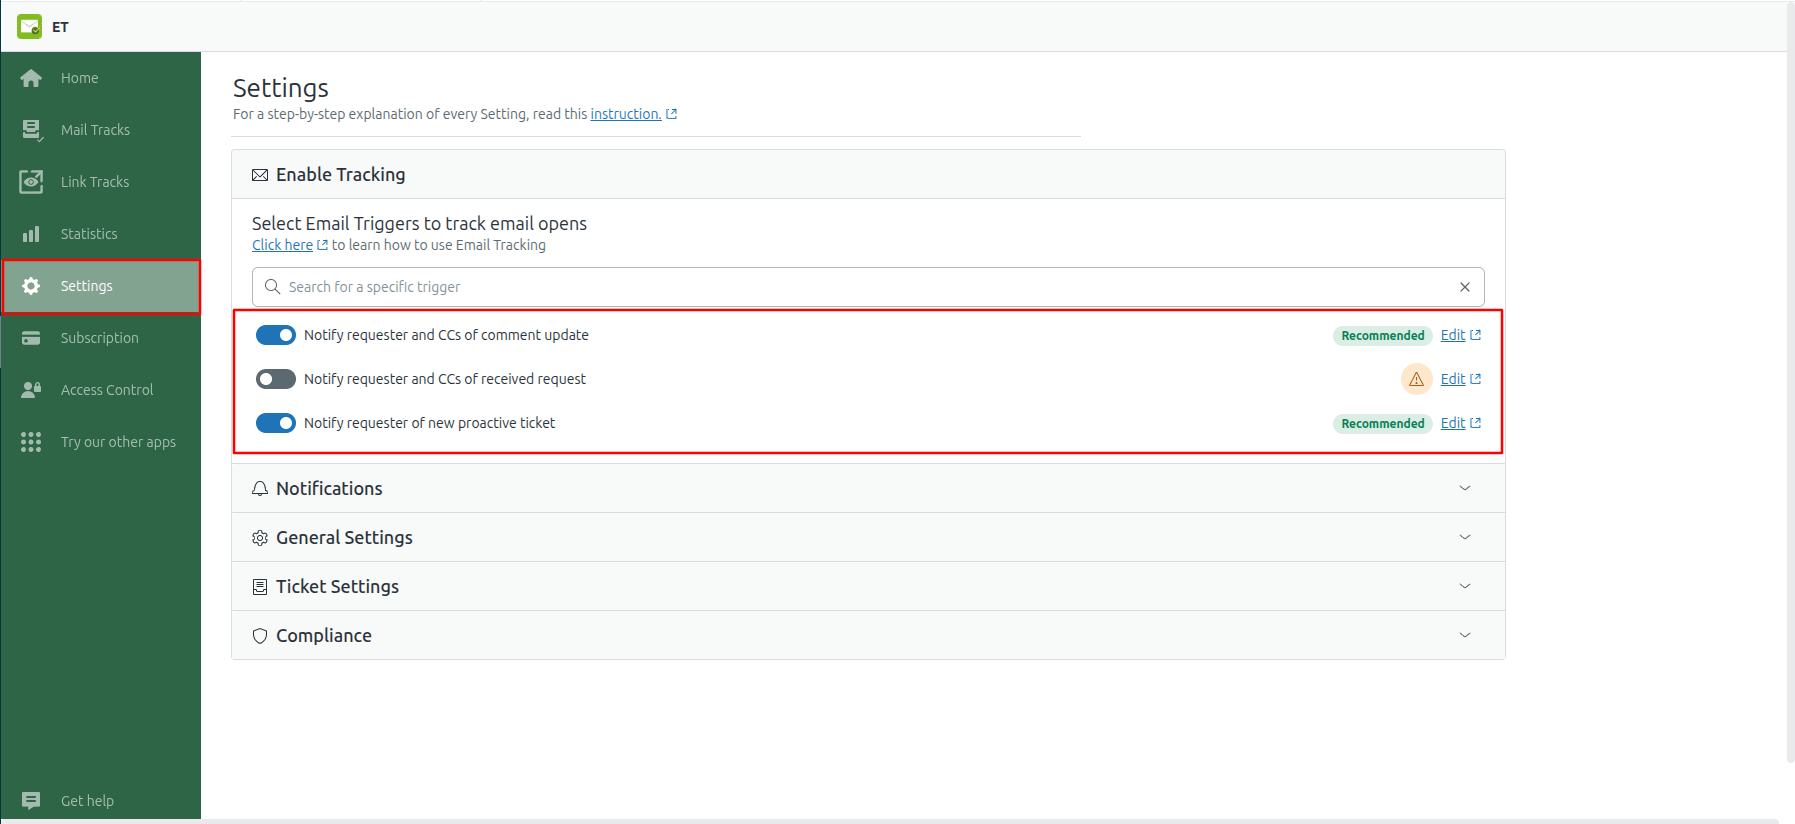
When you create a new ticket in Zendesk, you’ll see a pop-up asking you to set up triggers to track email opens successfully. Just right here, enable all or several triggers depending on your purpose. Make sure you activate all necessary triggers so that the app will work correctly.

You can also enable them from the app's Settings page.

If you choose to close the pop-up window, it will appear every time you create a new ticket in Zendesk, unless you enable the needed triggers or dismiss the message. In the latter case, you can enable Triggers at any time in the Settings tab.
Keep in mind:
- Deactivated triggers will not be displayed on the Settings page.
- If needed, you can create more triggers. However, only triggers with ‘Email User’ + requester/requester + CCs as Action type will be displayed in the Settings tab, unlike triggers with different values.
In case something wasn’t clear enough, or you’d like to get into more details, feel free to browse our Help Center or contact our support team for help.


