Email Tracking Settings Page Explained
This short guide is for you to understand the basic Email Tracking setting options and what each of them implies.
The Settings page - on the left
First, click on the Settings icon in the app's left-hand sidebar to change its parameters. There are some switch buttons on the left side of the page, so let's scope them out:
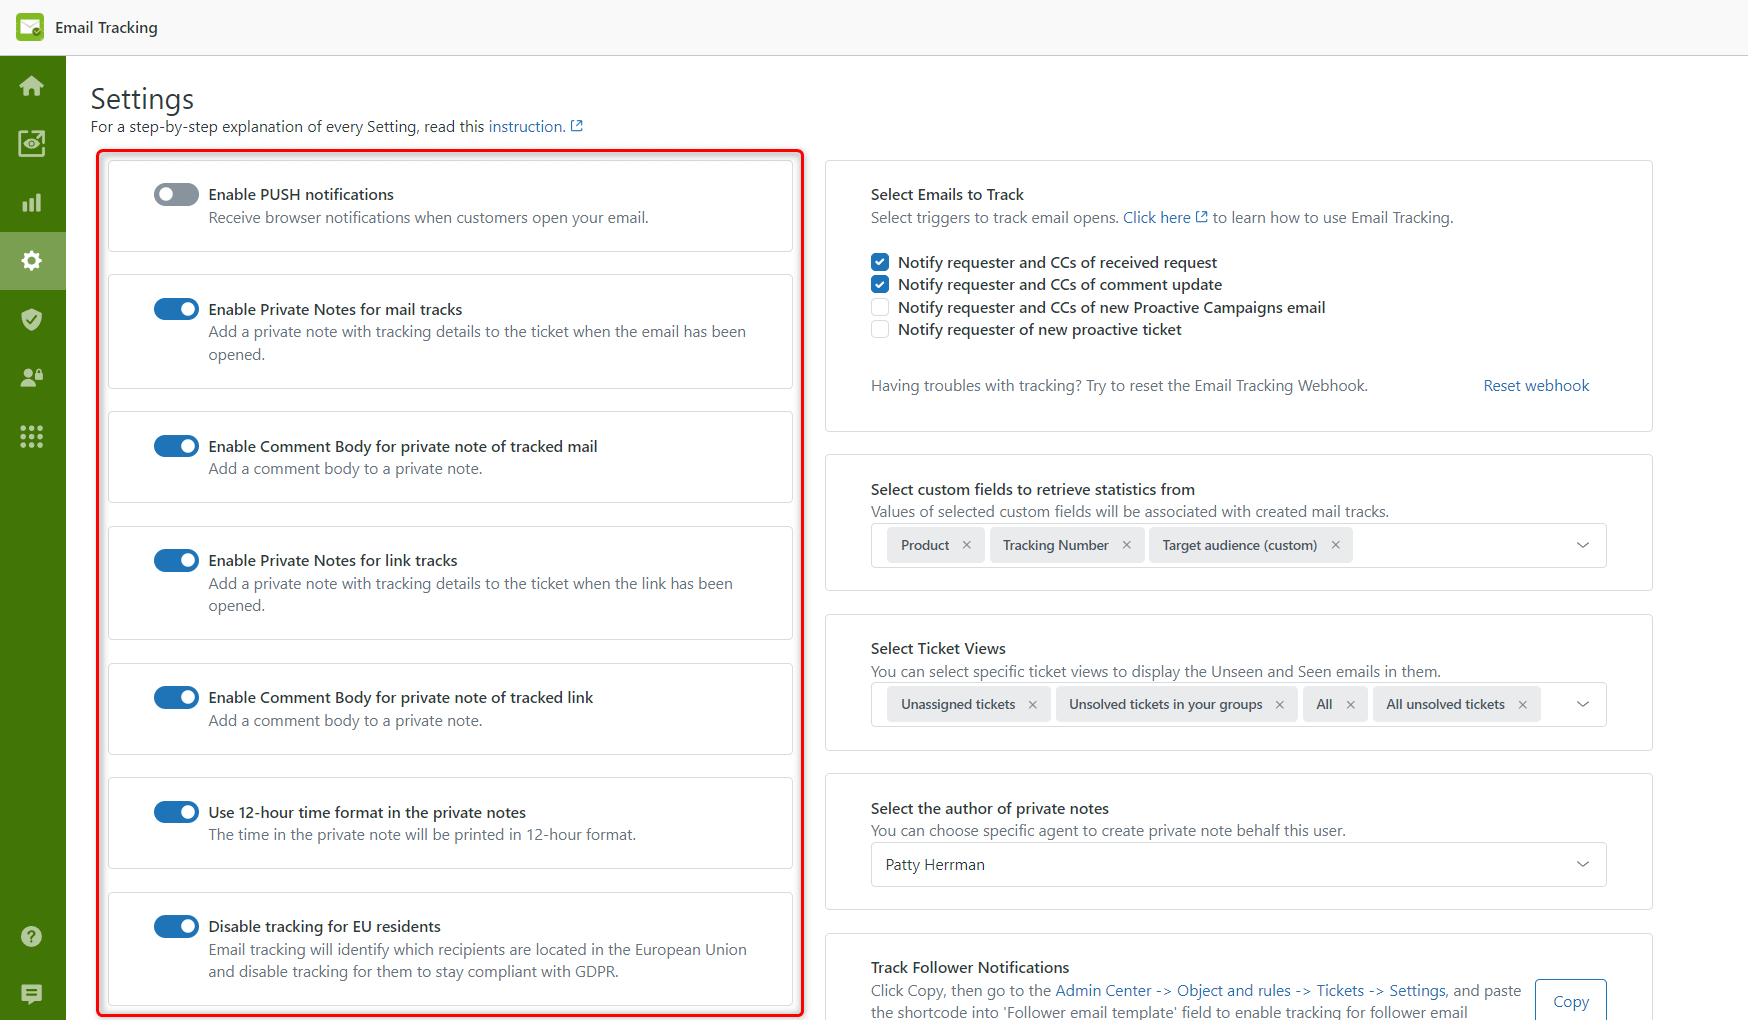
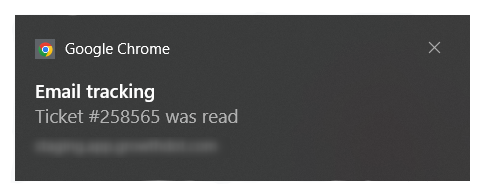
Enable PUSH notifications - when this setting is enabled, you will receive the on-screen notification about each opened email. It is primarily needed as you will be able to answer or follow up with customers within the shortest time frame. You will also have to enable browser notifications for this setting to work.
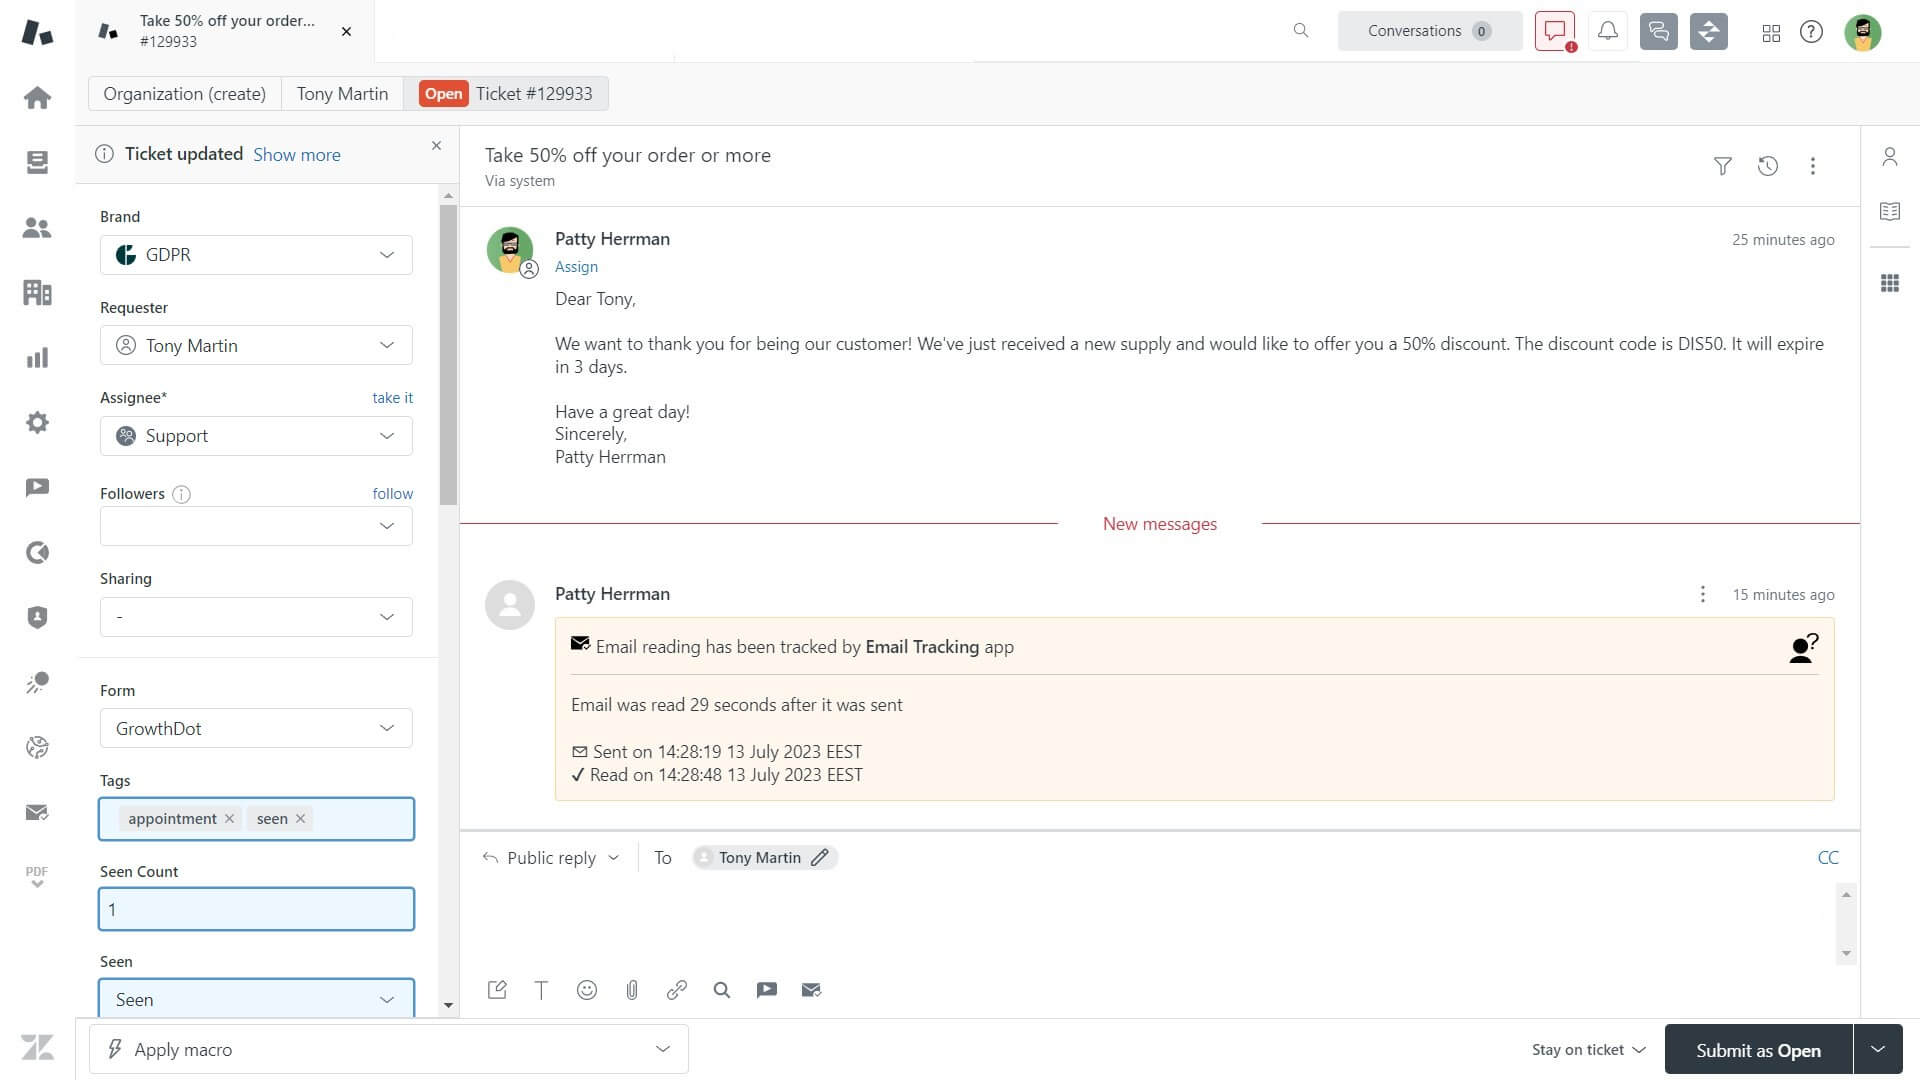
Enable Private Notes for mail tracks - if you turn this option on, Email Tracking will create a Private Note within the ticket with the information concerning the ticket opening. Namely, the info about the exact time of your response was received and opened. If you disable this feature, the Private note won’t be created. However, you’ll still be able to distinguish between the seen and unseen emails by creating a specific ticket view or checking its tags or custom fields.
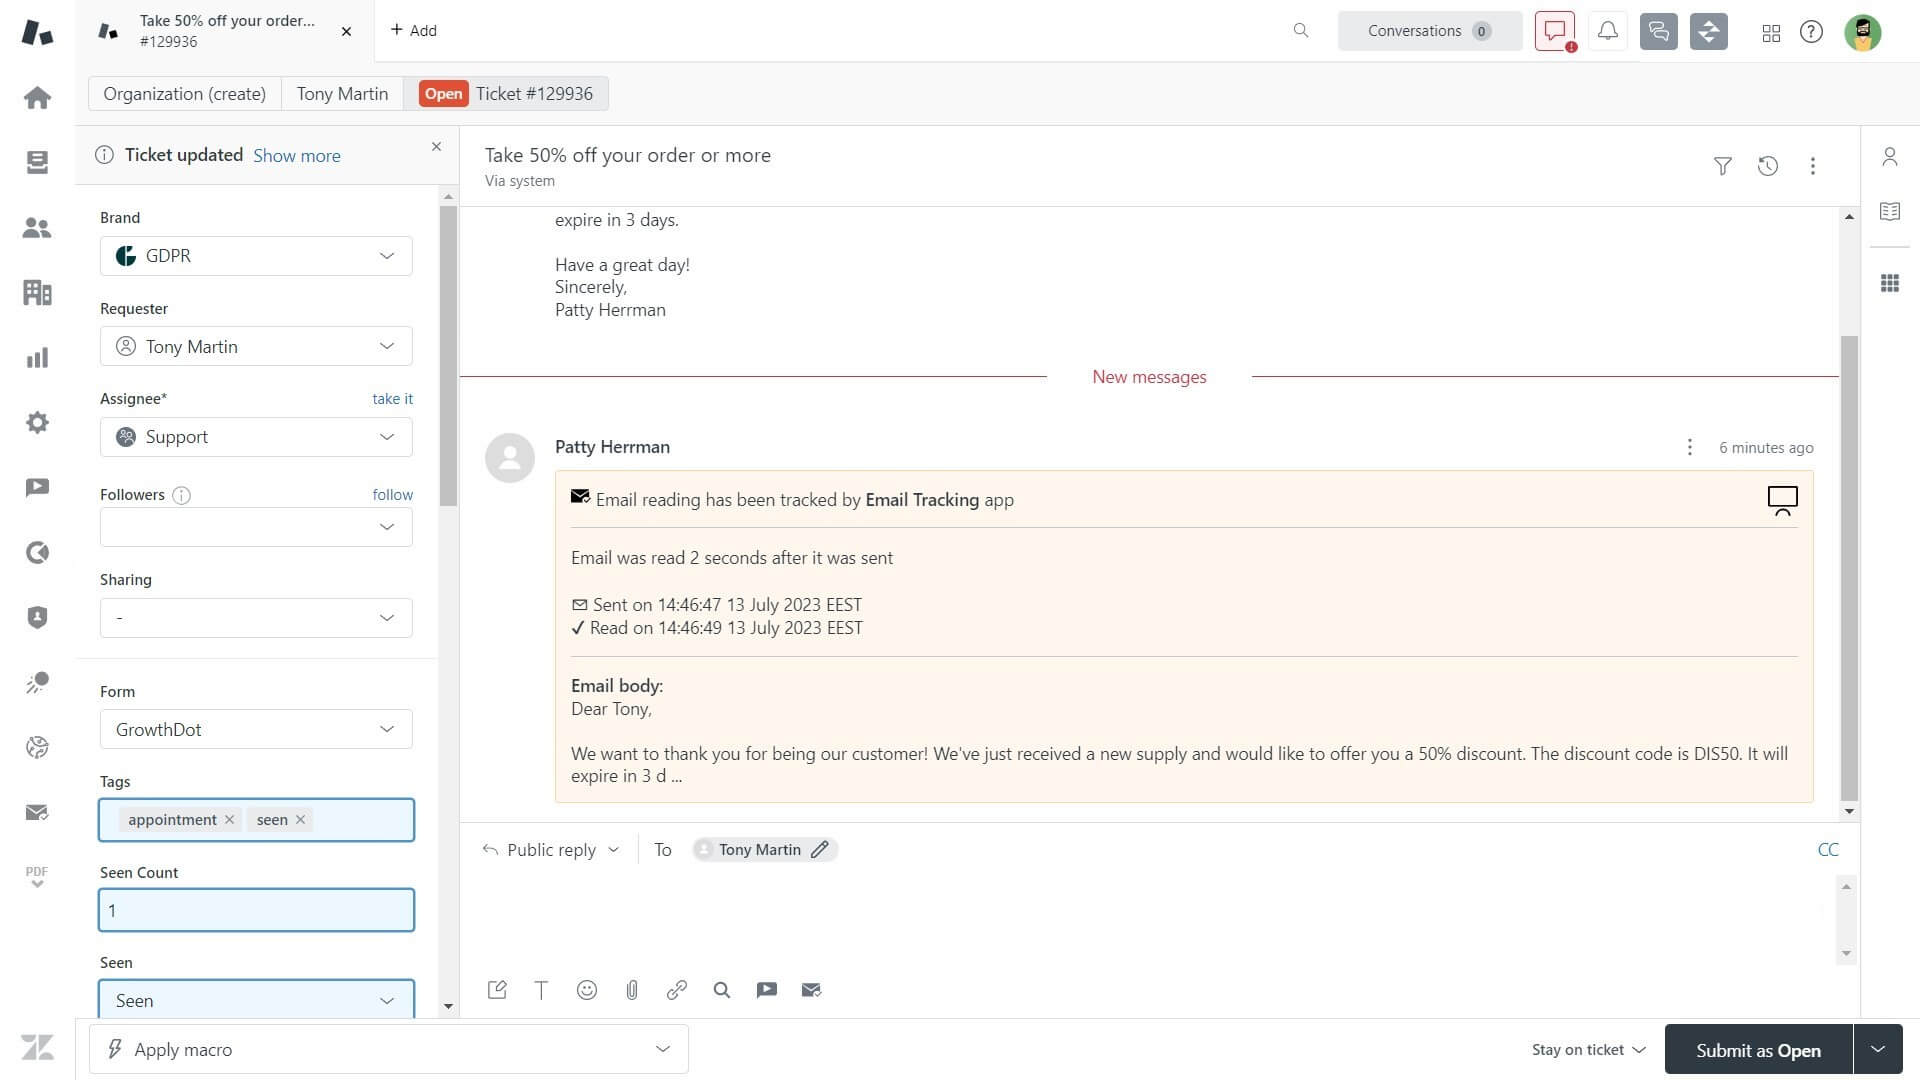
Enable Comment Body for private note of tracked mail - with this one enabled, you will be able to see all the details about the time your ticket comment was sent and opened together with the comment body. If you disable the setting, you will still receive the private note with the comment sent and opened time, but without its body. Pay attention that the app shows only the first 200 symbols of a text message.
Enable Private Notes for link tracks - if you have this setting on, the app creates an internal note that appears in the ticket after a receiver follows a shared link. Besides, you can view how long it took for a requester to follow the link and at what time a link was sent and opened. If you want to turn off the internal notes for email tracking or/and link tracking, all statistics are still retained in the ticket statistics area.
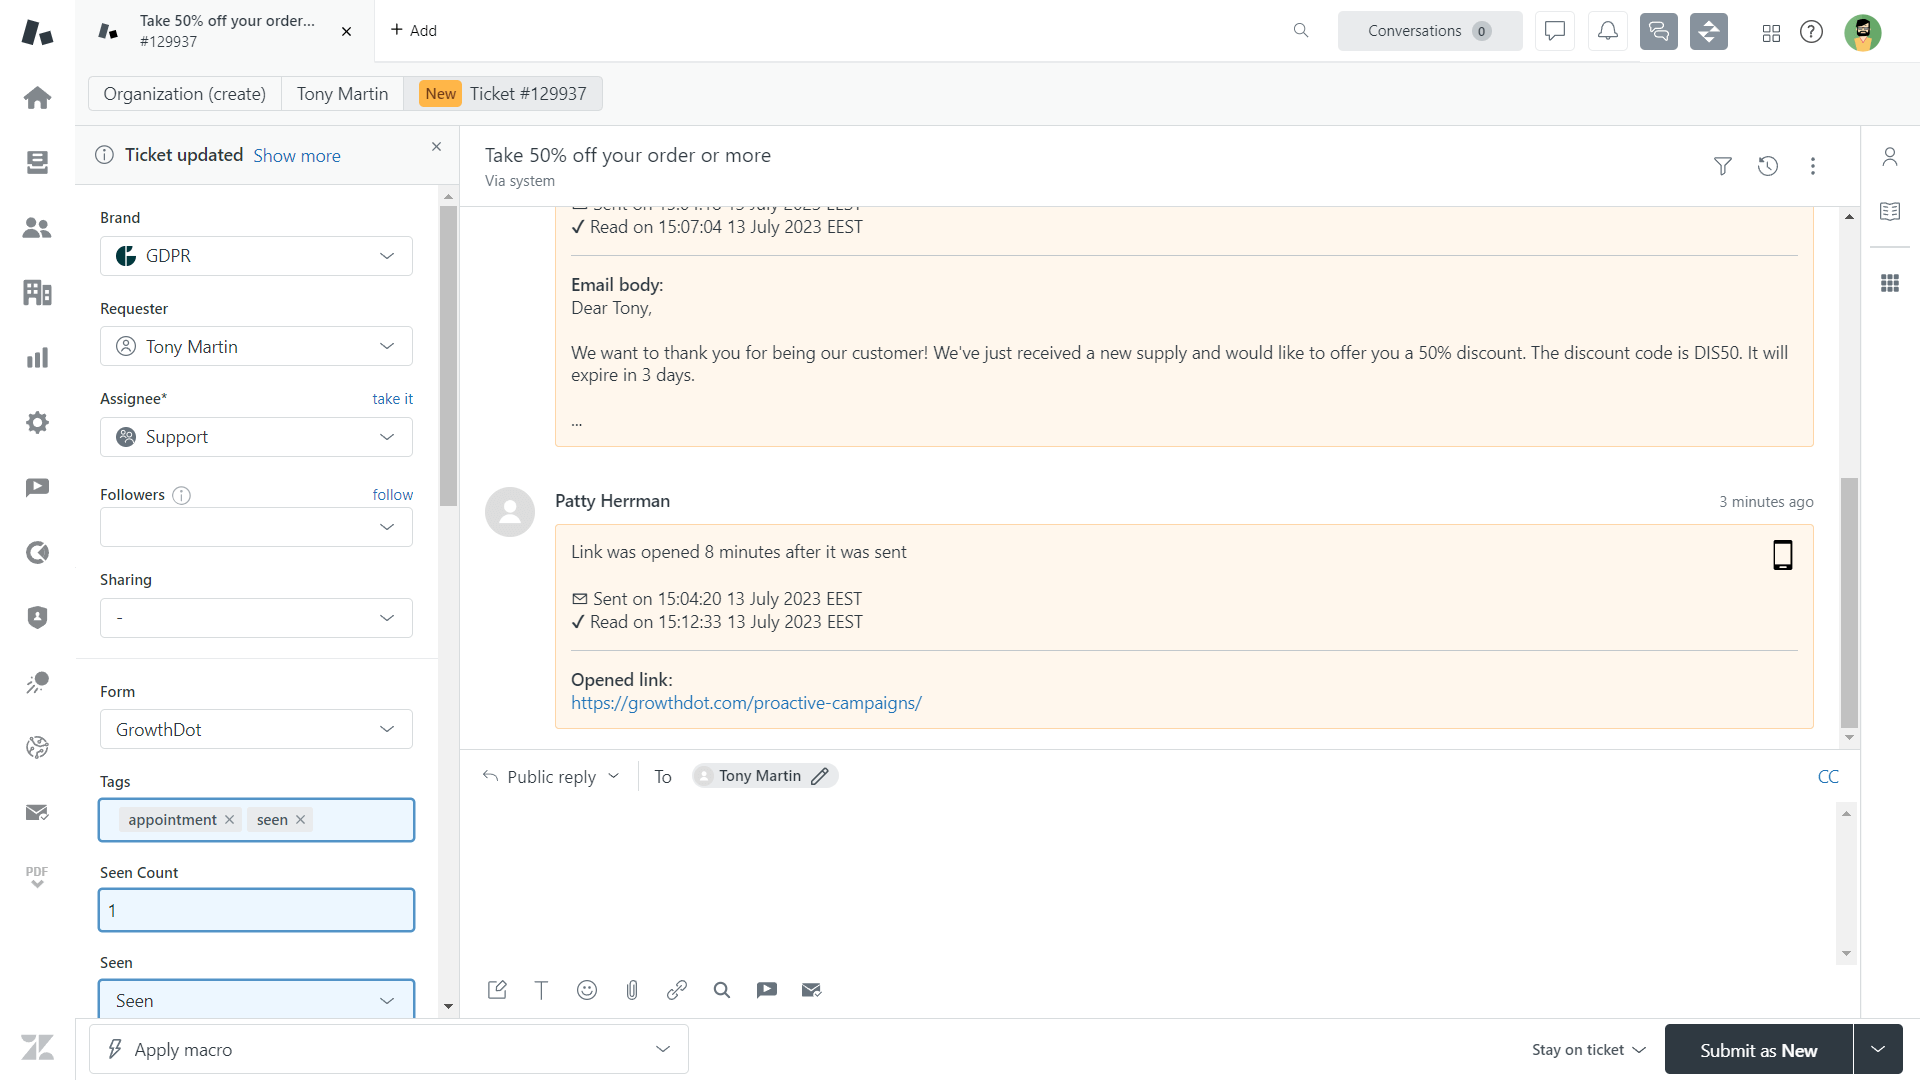
Enable Comment Body for private note of tracked link - the previous screenshot depicts how the read receipt for a URL will look when this setting is off. If enabled, the internal note will contain the comment body with a text you sent to a requester. Pay attention that the app shows only the first 200 symbols of a text message.
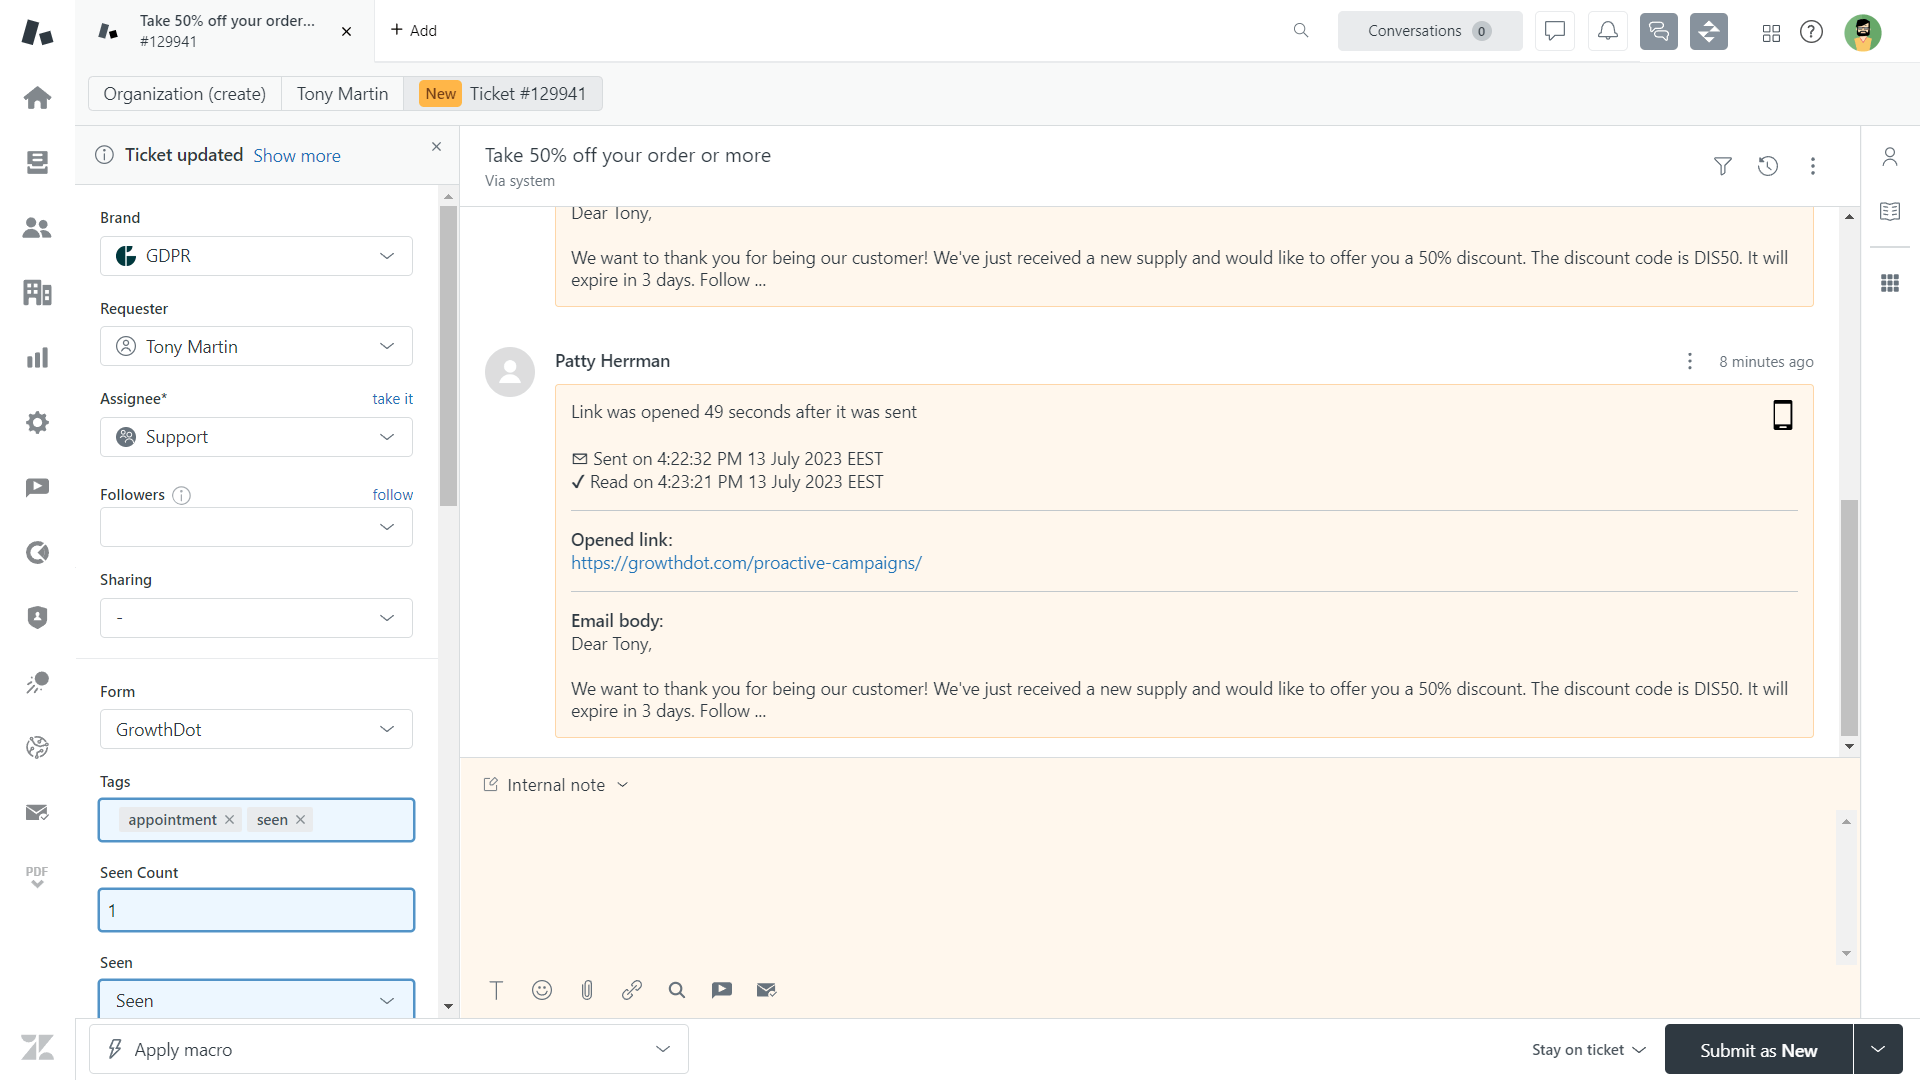
Use 12-hour time format in the private notes - allows agents to switch between 12-hour time format and 24-time format inside private notes.
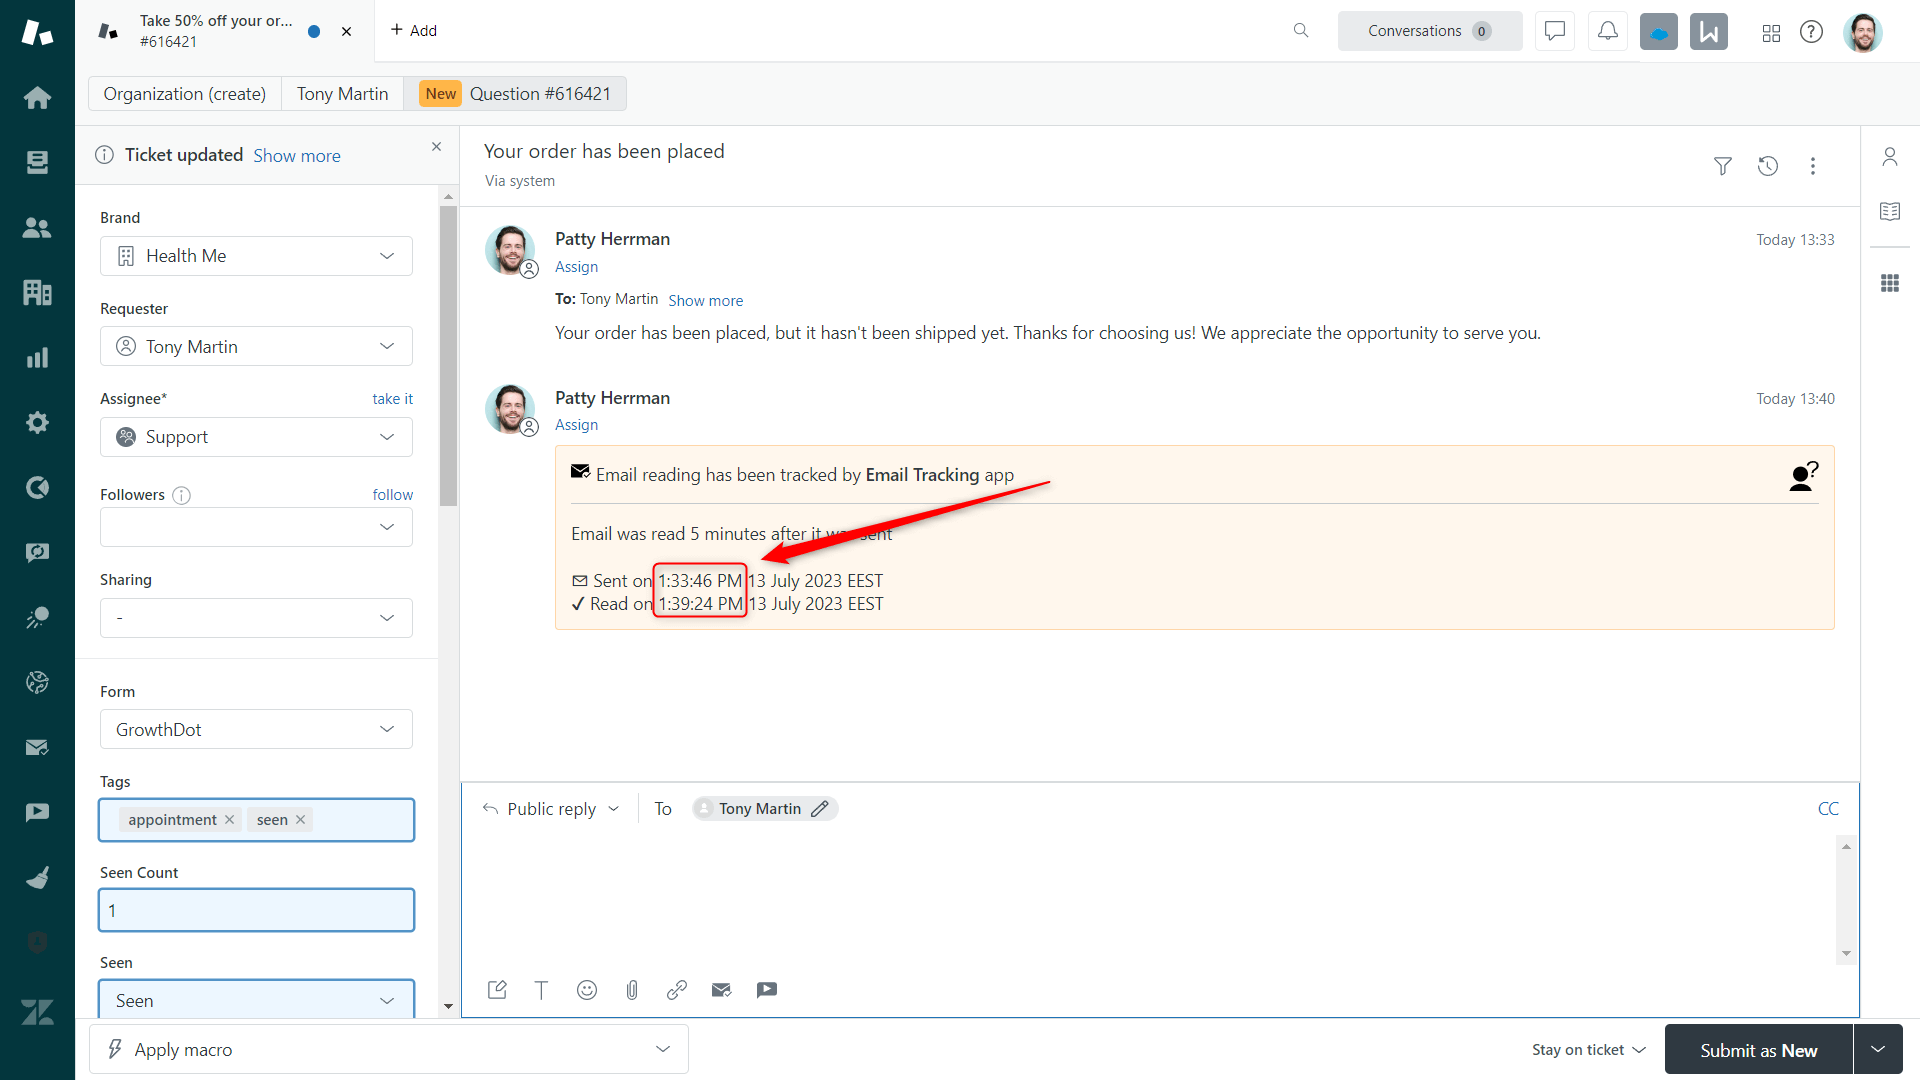
Disable tracking for EU residents - it is meant for the application to comply with GDPR. The tracking for audiences from the EU will be turned off so that you won't violate the privacy regulations implied.
![]()
Disable tracking for California residents - it is meant for the application to comply with CCPA. The application won't track emails sent to California citizens, so you won't break the state statute.
Disable tracking for UK residents - it is meant for the application to comply with DPA. The application won't track emails sent to UK residents, helping you adhere to the legal requirements outlined in the DPA.
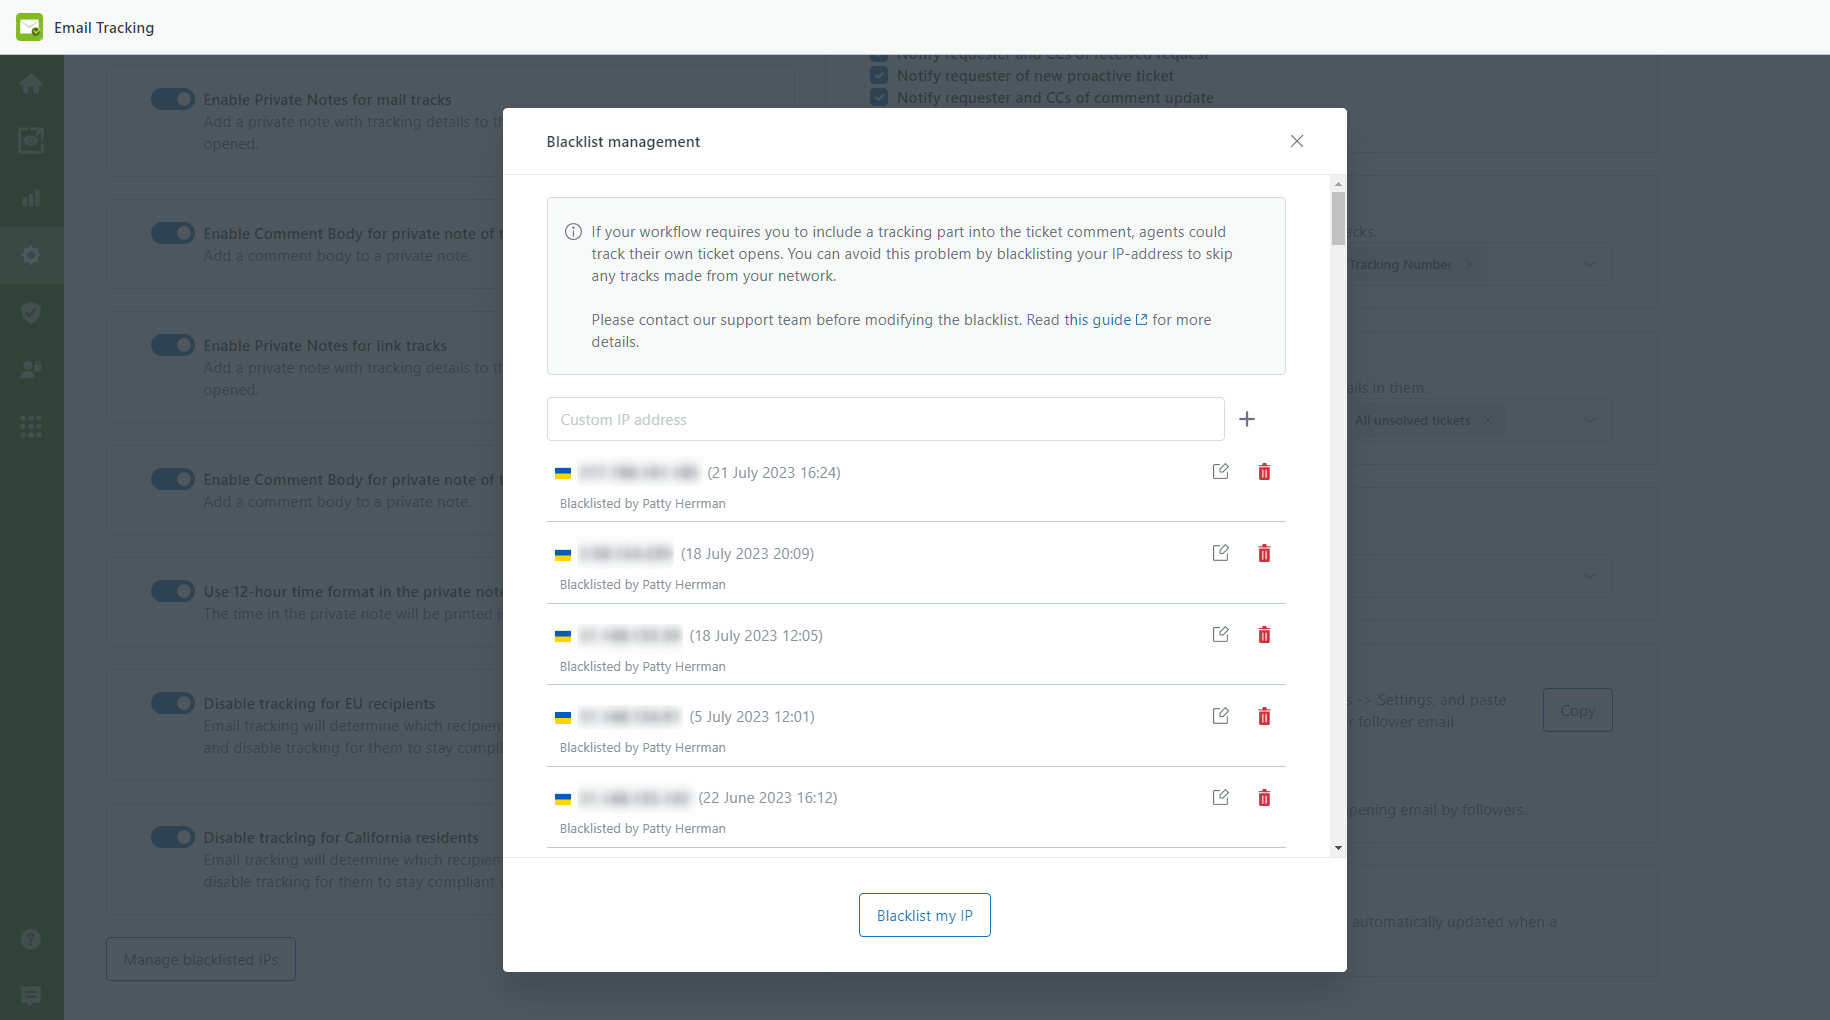
Manage blacklisted IPs - views from these IPs won't be tracked as the email opens. However, we have a separate detailed guide for those wondering what blacklisted IPs are and why you need those.
The Settings page - on the right
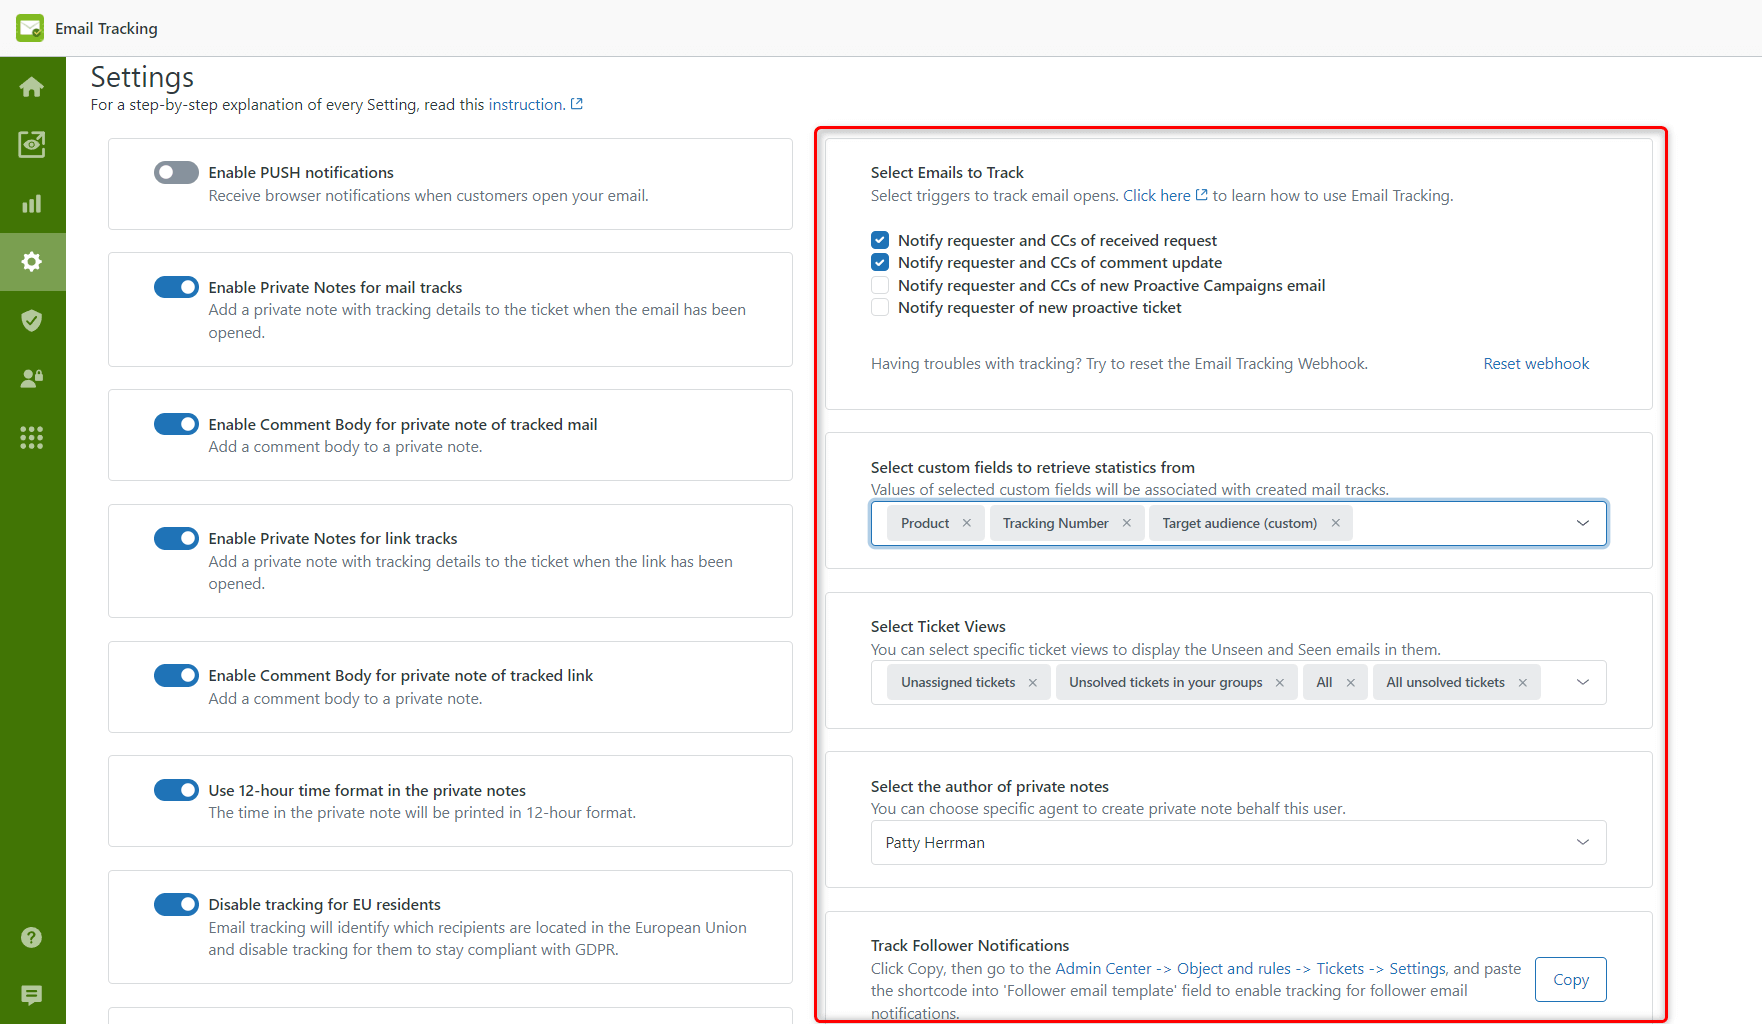
Select Emails to Track - activate these triggers to start tracking email opens. Notify requester and CCs of received request and Notify requester and CCs of comment update are necessary to turn on if you need to track the reply opens. Also, activate other triggers if they send emails. Otherwise, the tracking will just not work.
Also, if they are disabled, you will receive a notification with a suggestion to enable triggers in the modal window menu every time you view a ticket.
![]()
Note: These are only examples of the Zendesk standard triggers. However, your triggers can differ, so be careful when enabling the ones you need. To have the necessary triggers displayed in the app, ensure that they include the following actions: Notify by > User email | Ticket > (requester and CCs) or Notify by > User email | Ticket > (requester).
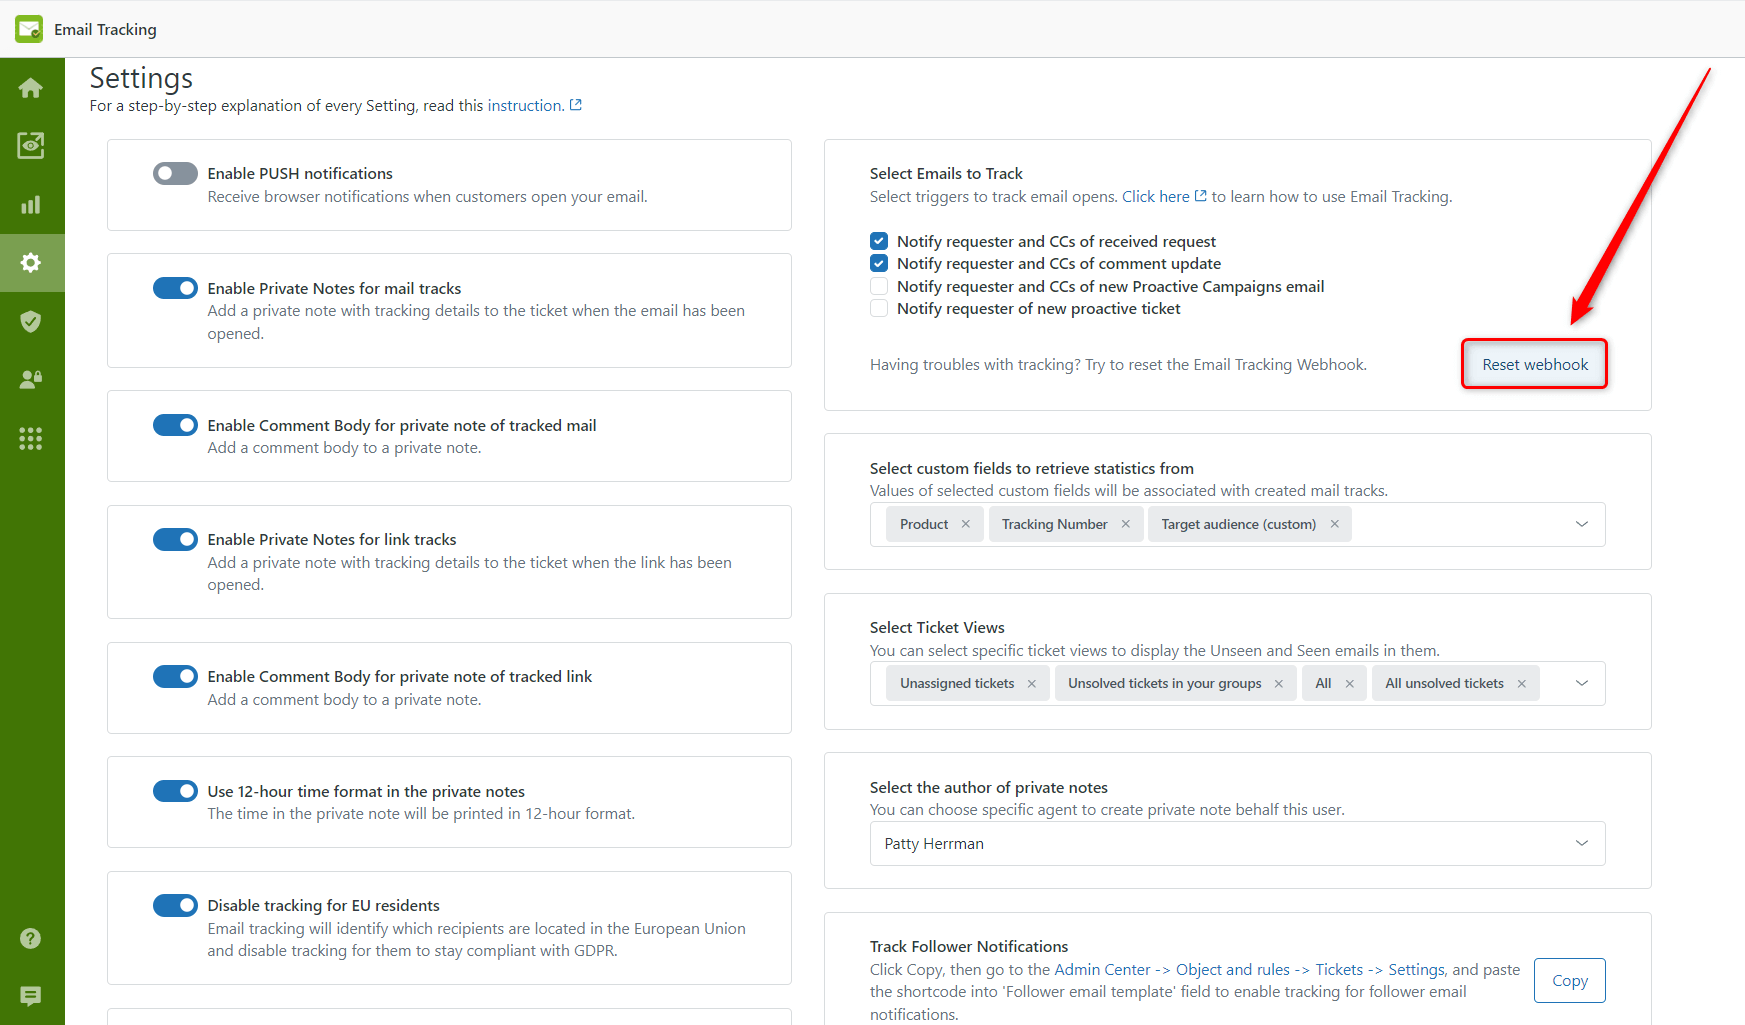
Reset webhook - This feature is really helpful in fixing any tracking issues, as it refreshes your email tracking configuration. When you click this button, the system initiates a series of actions: firstly, it removes the existing webhook from the actions of the enabled triggers (if any actions are associated). Next, it removes the existing webhook (if it still exists) and creates a new webhook to replace the removed one. Finally, the newly created webhook is seamlessly integrated with your enabled triggers. As a result, your triggers are updated and ready to go without any setup changes.
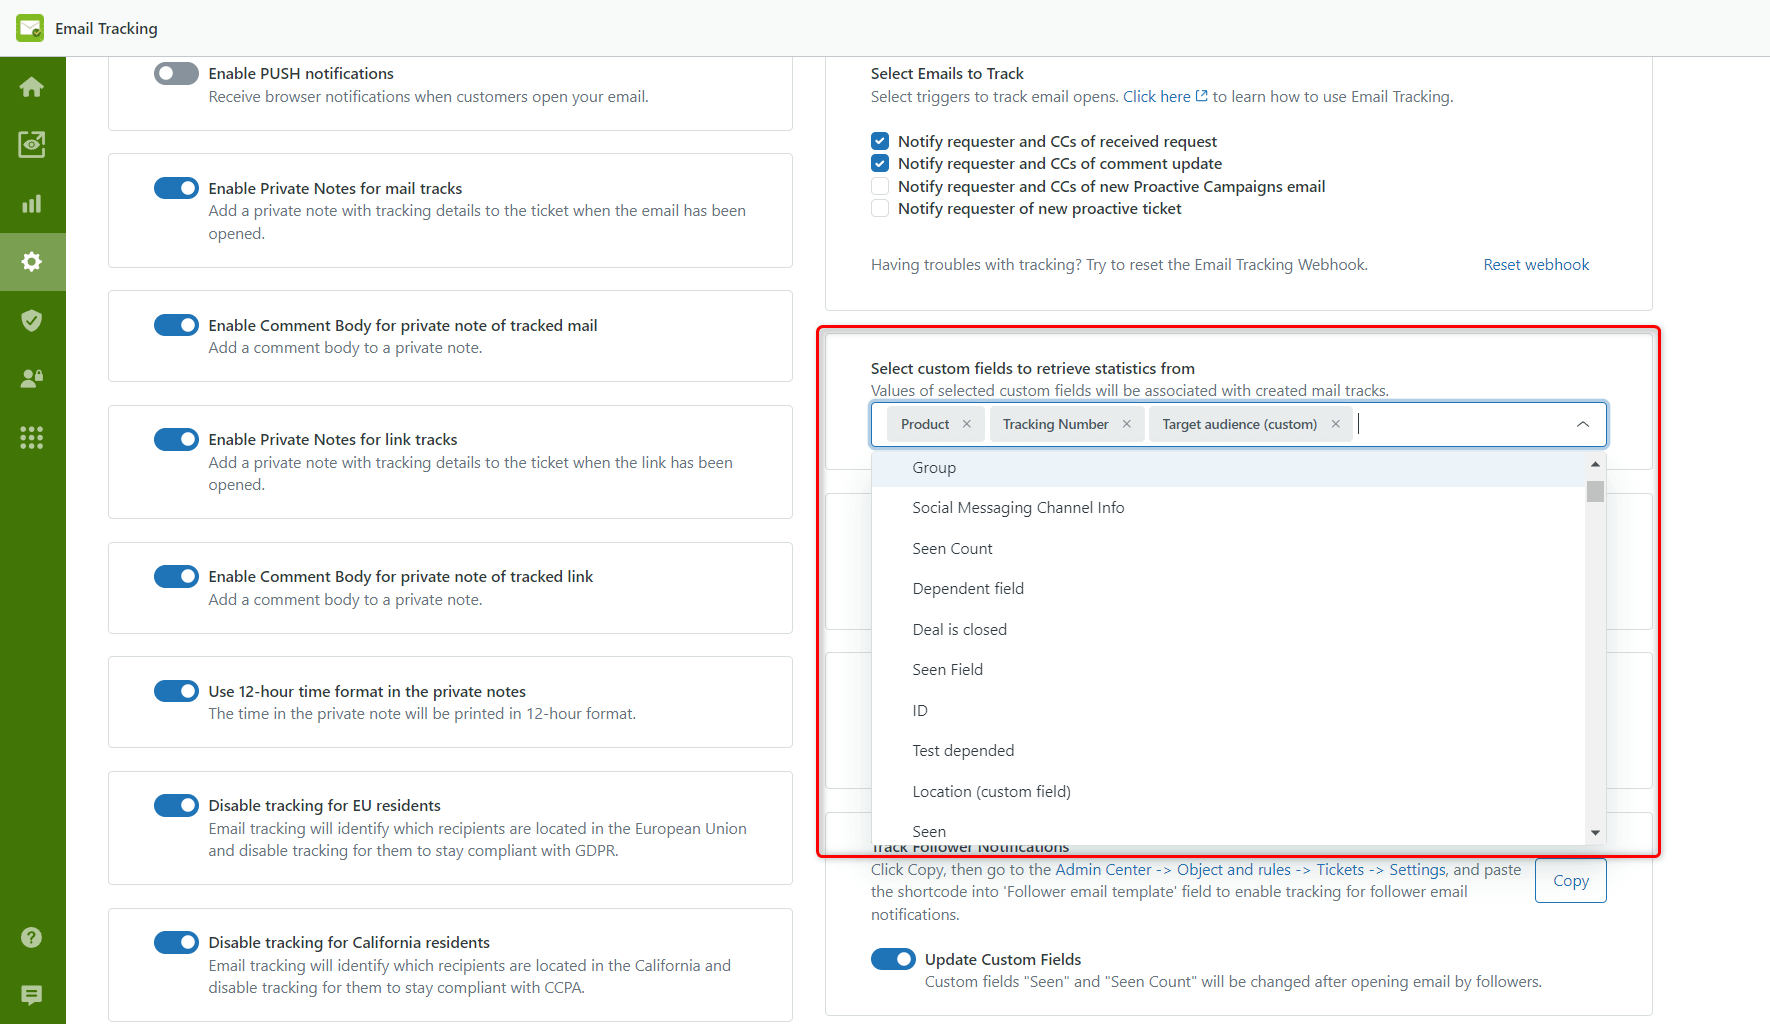
Select custom fields to retrieve statistics from - The setting allows adding custom fields you use in tickets to filter data on the App's Statistics page. The number of fields you can select depends on the pricing plan. Therefore, you can add only one custom field at a time on the Lite Plan, while on the Pro Plan - 15 items.
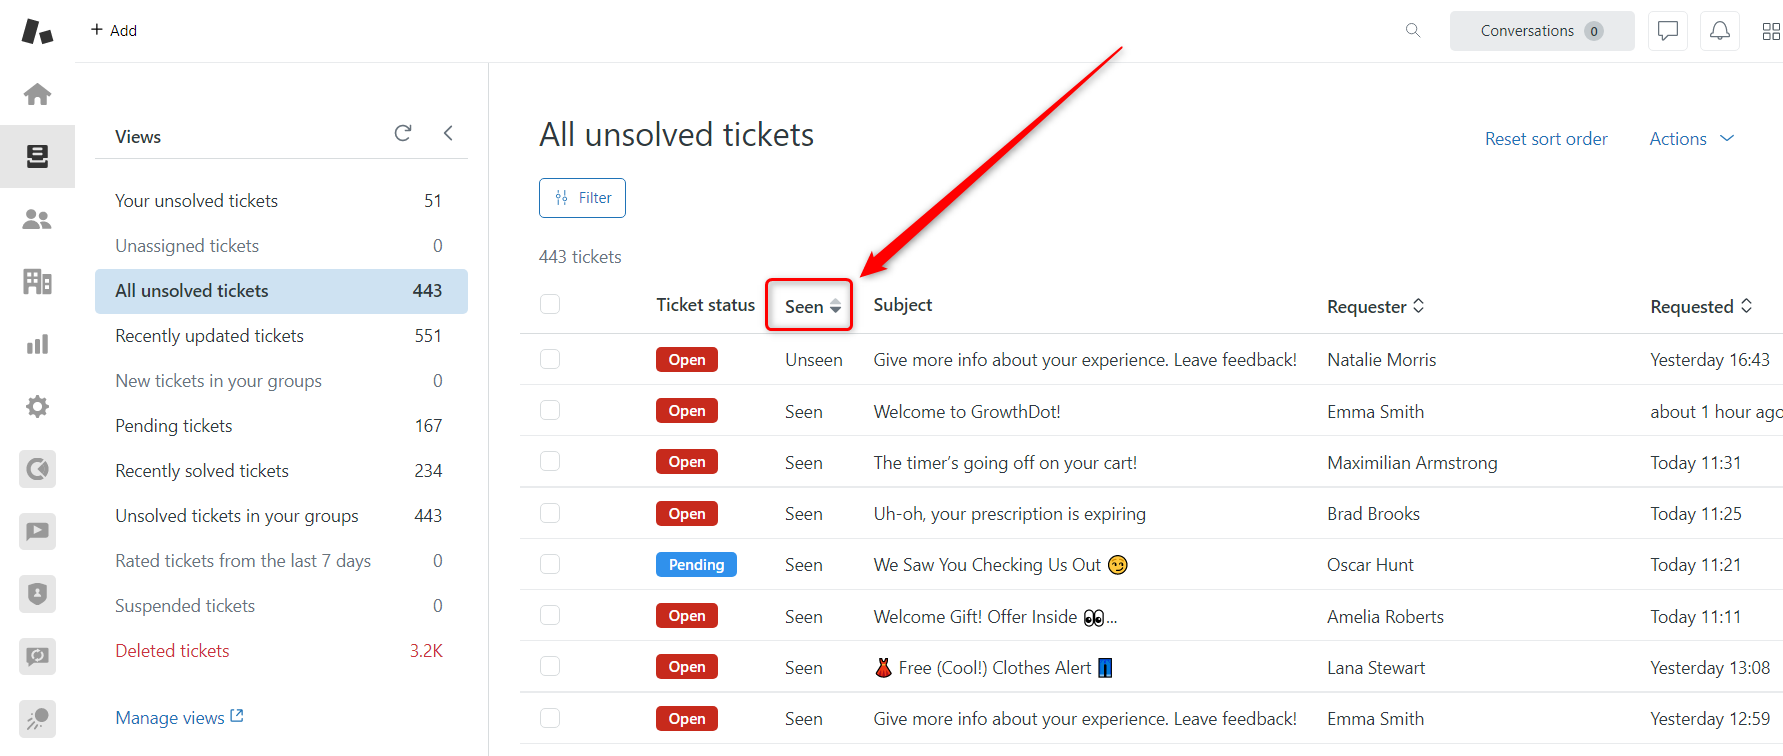
Select Ticket View - is also available in the Settings menu. You can choose specific ticket views to display the Unseen and Seen emails in them. The Unseen/Seen column is always shown on the left side in the Zendesk Views tab.
Select the author of private notes. Here is a brief description of the purpose of this option.
If you use agent time tracking or performance management tools such as Kaizo, you may face the following situation. For instance, let's take two agents, Agent 'A' and Agent 'B.' Agent's 'A' shift lasts from 9 to 5, and the agent sends an email to the requester during their work time. But the receiver opened that email after 5 pm when Agent's 'A' shift had ended. Consequently, the internal note came from agent 'A,' and a performance tracking tool recognized this agent as active. But in fact, Agent 'B' was the receiver of the note.
Track Follower Notifications - switch the toggle to enable the tracking of email openings by followers. The difference from opening the email by a ticket requester is that you won't get an internal note, but you can see the changes in the 'Seen' and 'Seen Count' fields (these fields change the data if the related setting is enabled) and on the app's widget. However, you need to perform more actions to switch on this option. Read the clear guidance about it.
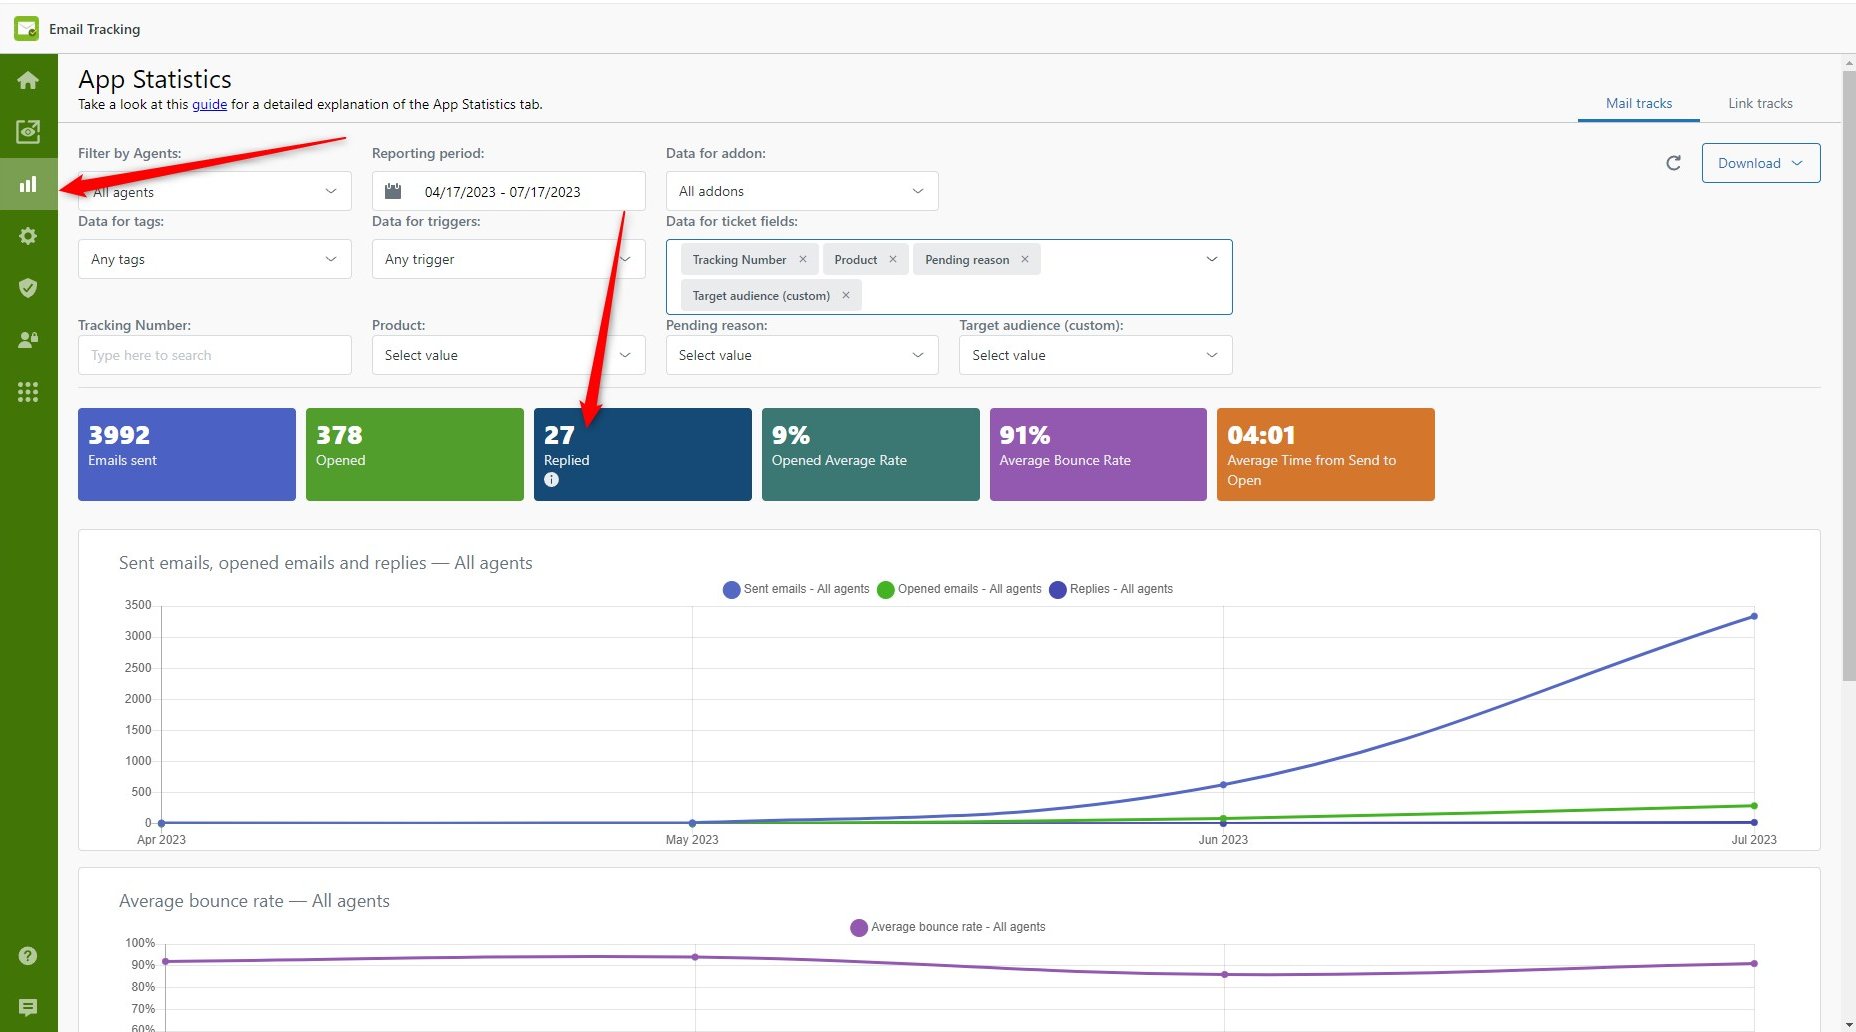
Create replied trigger - enable the option to activate the Replied counter on the Settings page. Replied block shows the quantity of answered emails on the Statistics page.
And that’s it for the Email Tracking Settings page! If something is unclear or you have any additional questions, make sure to contact our super-helpful support agents.

